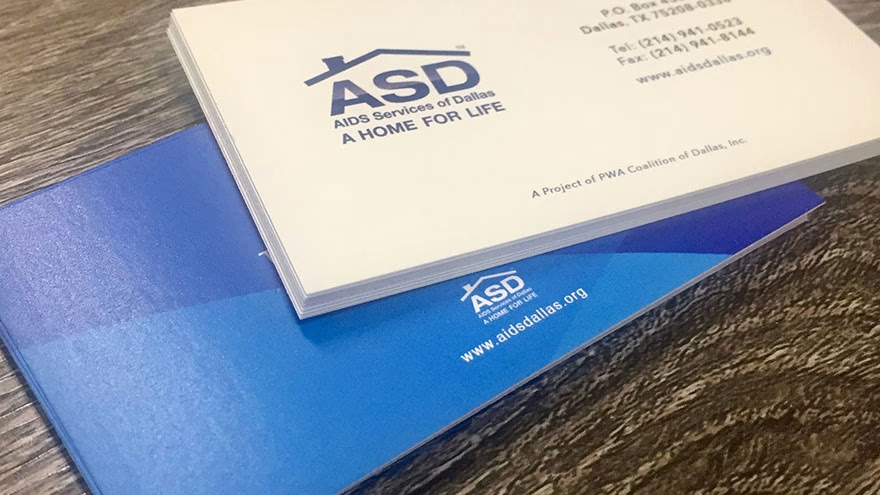
Once you have your design, printing your business cards on Avery paper is relatively straightforward. Avery produces several different-types-of-salt" class="auto-link" target="_blank" rel="noopener">different types of card stock designed for business cards but the standard steps are similar for each.
3 Steps To Print Business Cards On Avery Paper

1. Test To Make Sure The Design Aligns Before Printing On Avery Paper
Test your design on a sheet of plain paper, or a sheet salvaged from the recycling bin, before printing the images on Avery paper.Place the printed sheet of paper over a sheet of Avery business card paper to make sure the dimensions of each design, as well as the margins, align on the Avery paper. Adjust the design if necessary and test again, repeating as necessary until satisfied.
2. Remove Printed Pages As Soon As They Emerge To Avoid Smudging
Place the Avery business card sheets into the printer's paper feeder. Fan the sheets before placing them in the receiving tray if your printer is powerful enough to handle multiple sheets at once.Feed the card stock one page at a time if your printer is not capable of accepting more than one piece of card stock, which is heavier than printer paper. Remove each sheet of card stock as it emerges from the printer to avoid smearing or smudging the fresh ink.
3. Allow The Printed Cards To Dry Before Attempting To Fold The Paper And Separate The İndividual Business Cards
Fold the card stock along the horizontal perforations and separate. Repeat the workflow along the vertical perforated lines until all of the cards are separated individually.You Might Also Like :: HR Software Information
Save for later
Found this helpful?
Pin this article to your Pinterest board and come back to it whenever you need a reminder.
Save to Pinterest


