
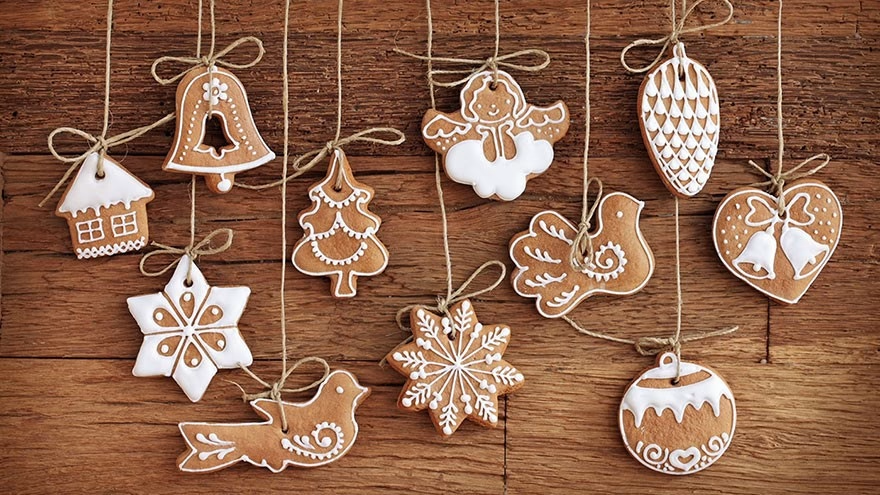
Christmas cookie ornaments sit in the comfortable middle ground between baking and craft. They look like cookies, use cookie cutters, and come out of the oven, but not every version should be eaten. That distinction matters. A salt dough ornament is for hanging, painting, dating, and saving. A sturdy gingerbread or spice cookie can be edible if it is baked, decorated with food-safe ingredients, and stored like food. Mixing those two ideas is how families end up with glitter on cookies or children tasting raw craft dough.
This guide gives you both routes: a durable salt dough ornament for the tree and an edible cookie ornament for a dessert board or gift package. The steps are similar enough to do in one afternoon. The decisions are different enough that you should choose before you open the flour.
Choose Edible Cookies Or Craft Ornaments First
If you want keepsakes, choose salt dough. It uses flour, salt, and water, then bakes slowly until firm and dry. Once cooled, it can be painted, sealed, labeled, and stored with holiday decorations. It should not be eaten, especially after acrylic paint, glue, glitter, or sealer touches it.
If you want treats, choose edible cookies. Use a sturdy gingerbread, spice cookie, or firm sugar cookie dough that will hold a hole for ribbon and survive handling. Decorate with royal icing, sanding sugar, edible paint, or other food-safe decorations. Do not hang edible cookies on a tree for days and then serve them; dust, pets, heat, and hands make that a poor food plan.
The Better Homes & Gardens salt dough guide uses flour, salt, and water, rolled to about one-quarter inch, cut with cookie cutters, pierced for hanging, and baked low and slow until dry. That method is reliable because the goal is dryness, not tenderness.
For a bigger holiday spread, use non-edible ornaments as table decor and edible cookies on a separate tray. A display plan like the one in the cookie display guide keeps craft pieces, edible cookies, ribbon, and gift tags from crowding one another.
Salt Dough Ornament Recipe
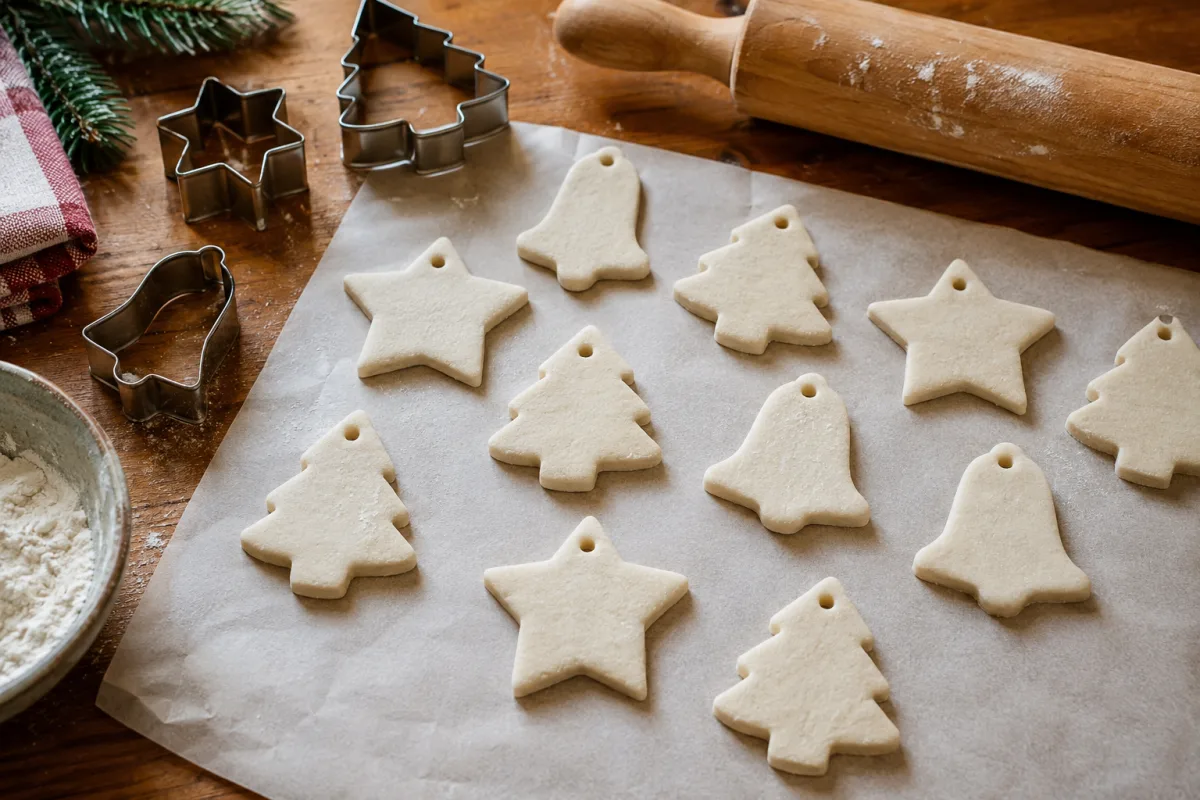
For a basic batch, mix 2 cups all-purpose flour, 1 cup table salt, and about 1 cup warm water. Stir until shaggy, then knead until smooth. If the dough is sticky, dust in a little more flour. If it cracks badly, knead in a teaspoon of water at a time. Let it rest for 15 to 20 minutes so the flour hydrates and the dough rolls more evenly.
Roll the dough to about one-quarter inch thick on a lightly floured surface. Cut shapes with cookie cutters, then move them to a parchment-lined baking sheet. Make a hanging hole before baking, using a straw, skewer, or the plain end of a small piping tip. Put the hole far enough from the edge that the ornament will not break when ribbon is threaded through it.
Bake at 250 F until firm and dry. Thin shapes may take around 2 to 3 hours; thicker pieces need longer. Flip once if the bottom stays damp. Let the ornaments cool completely before painting. If they feel cool but still slightly soft in the middle, return them to the oven at a low temperature rather than sealing in moisture.
The CDC raw dough guidance specifically includes crafts made with raw flour, such as homemade play dough and holiday ornaments, in its warning not to taste or eat raw dough. Treat salt dough like raw dough until it is baked, and wash hands, bowls, counters, and cutters afterward.
Edible Cookie Ornament Dough
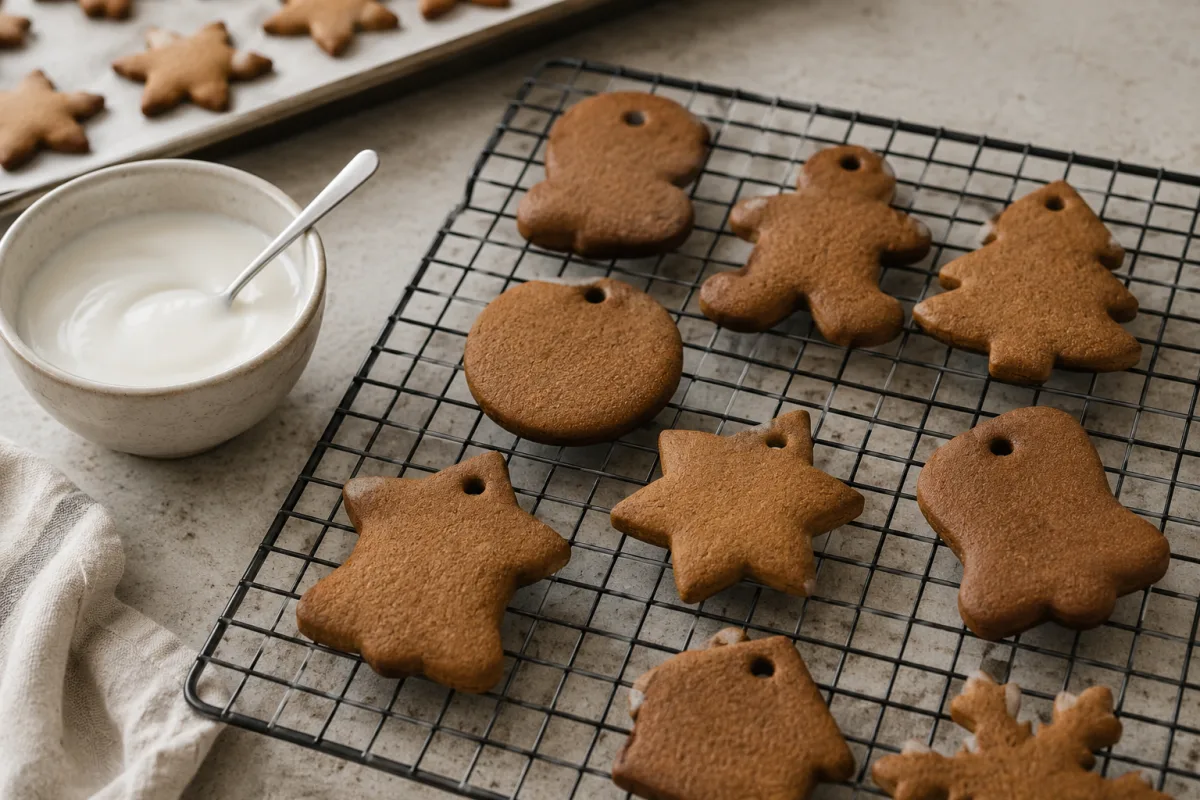
For edible ornaments, use a firm dough that does not puff much. Soft drop-cookie dough will spread, close the ribbon hole, and bend after decorating. Gingerbread is the most forgiving because molasses, spice, and a sturdy dough make it flavorful and firm. A crisp sugar cookie dough can also work if it is chilled before cutting.
Roll edible dough slightly thinner than a normal cookie if you want it to hang for a short time, but not so thin that it snaps. Cut the shapes, transfer them to the pan, then make the ribbon hole before baking. After baking, open the hole again while the cookie is still warm if it has partly closed. A skewer works; use a gentle twisting motion instead of punching hard.
Let edible ornaments cool fully before icing. Royal icing dries hard and holds up better than soft buttercream. Keep ribbon off the edible surface if the cookies will be eaten. Tie ribbon through the hole after the icing dries, or package cookies flat with ribbon included separately.
If you are planning a sweet holiday gift basket, edible ornaments can sit beside fudge, loaf cake, or banana bread. A small drizzle of fudge icing can be lovely on a dessert plate, but keep it off anything meant to hang because soft frosting attracts dust and smears easily.
Food Safety And Kid Safety
Raw flour is the quiet safety issue in this project. The FDA explains that flour is a raw food and that cooking or baking is what kills germs that may be present. That is why children should not taste salt dough, edible cookie dough, or scraps before baking. The rule can feel strict during a cozy family activity, but it is a simple way to keep the day from becoming a stomachache story.
Keep craft decorations separate from food decorations. Acrylic paint, glue, glitter, permanent marker, and spray sealer belong only on non-edible ornaments. If you are making both edible and non-edible versions, use separate trays and label them while they cool. Children cannot always tell the difference once everything looks like a cookie.
Hanging safety matters too. Use ribbon, cotton twine, or ornament hooks only where children and pets cannot pull them down. Do not hang edible cookies low on the tree if a dog, toddler, or curious guest might eat them. If the ornaments will be gifts, include a note that salt dough ornaments are not food.
For a family baking day, serve real snacks before the craft starts. Something simple from the holiday table, even a slice from the anti-fruitcake recipe, reduces the temptation to nibble on dough scraps.
Decorating, Drying, And Storing
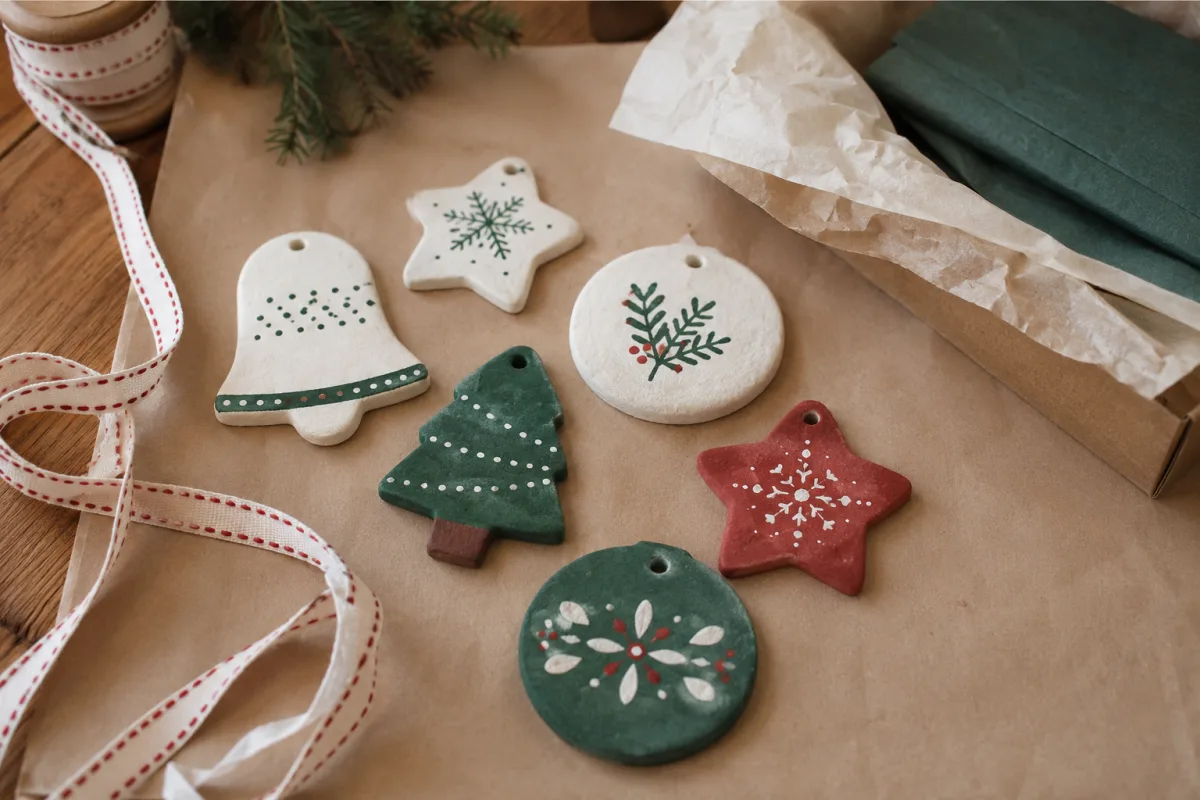
Salt dough ornaments should be painted only after they are fully dry. Acrylic paint is common, but it is for craft ornaments only. Add the date, child's name, or gift note on the back. Once dry, seal the ornament with a clear acrylic sealer if you want it to last longer. Let it air out fully before packing it away.
Edible cookie ornaments should be decorated with food-safe icing and stored like cookies. Let icing dry uncovered at room temperature, then store in an airtight container. If the cookies include perishable fillings or soft frosting, they are not good hanging ornaments. Keep them as plate cookies instead.
Store salt dough ornaments in a dry place. Moisture is the enemy. Wrap each one in tissue paper and keep them away from basements, garages, or damp attics if possible. If an old ornament becomes soft, smells musty, or shows spots, throw it away.
For a full holiday menu, cookie ornaments are better as a small personal touch than the whole dessert plan. Pair them with a practical side or main dish, such as corn souffle, so the craft table does not carry the meal.
Frequently Asked Questions
Can you eat salt dough Christmas ornaments?
No. Salt dough ornaments are for decoration, not eating. They are usually painted or sealed, and the dough is far too salty even before decoration.
What dough works best for edible cookie ornaments?
Use a firm gingerbread, spice cookie, or crisp sugar cookie dough. Avoid soft drop-cookie dough because it spreads and may close the ribbon hole.
How do you keep the ribbon hole from closing?
Make the hole before baking and open it again while the cookie or ornament is still warm if needed. Keep the hole at least a little distance from the edge.
Can children help make cookie ornaments?
Yes, with supervision. Adults should handle hot pans, sealers, and small hanging materials. Children should not taste raw dough made with flour.
How long do salt dough ornaments last?
They can last for years if baked completely dry, sealed, and stored away from moisture. Damp storage can soften or spoil them.
Christmas cookie ornaments work best when the family knows which tray is food and which tray is memory. Pick the route first, bake patiently, keep decorations sorted, and the project becomes charming instead of confusing.

Linda Fehrman
Edits general wellness and relationship explainers. Health material is educational, avoids diagnosis and links to health-authority guidance.




Leave a reply
Replying to