
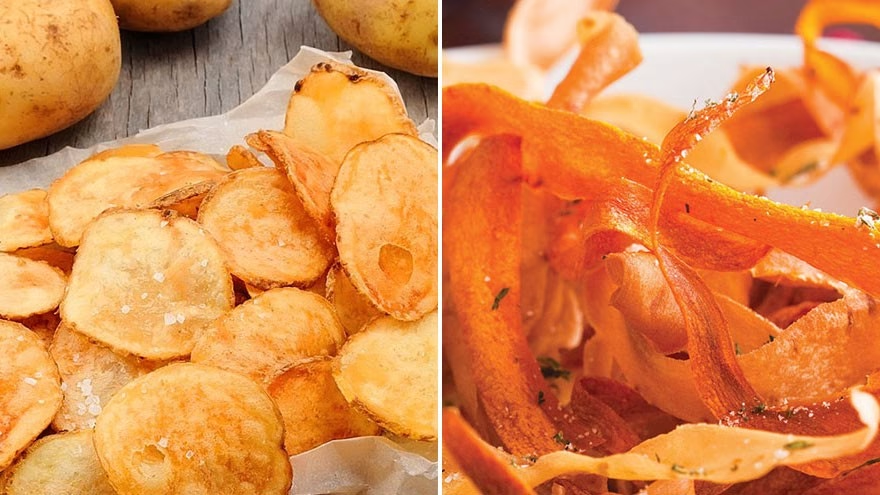
Start With the Snack You Actually Want
Healthy homemade chips are not a trick version of a snack. They are a way to keep the crunch, salt, and warm-from-the-pan smell while putting more control back in your hands. You choose the vegetable, the amount of oil, the seasoning, and the batch size. That control is the reason homemade chips can feel lighter without tasting like a lecture.
The most common mistake is treating every vegetable like a potato. Potatoes need rinsing and drying. Sweet potatoes need thinner slices and a little patience. Kale needs massage-level oiling, not a heavy pour.
Beets and parsnips look sturdy, but they burn at the edges before the centers crisp if the slices are uneven. A good chip starts with thin, even slices, then relies on dry surfaces and steady heat.
The goal is not to remove oil entirely. Oil carries heat, helps browning, and gives seasoning something to hold. The better move is to use enough to coat the surface and no more. The American Heart Association's guide to healthy cooking oils points home cooks toward liquid vegetable oils such as olive, canola, sunflower, and peanut oil instead of solid fats. For chips, that usually means one to two teaspoons per tray, rubbed through with your hands.
Choose Vegetables That Turn Crisp
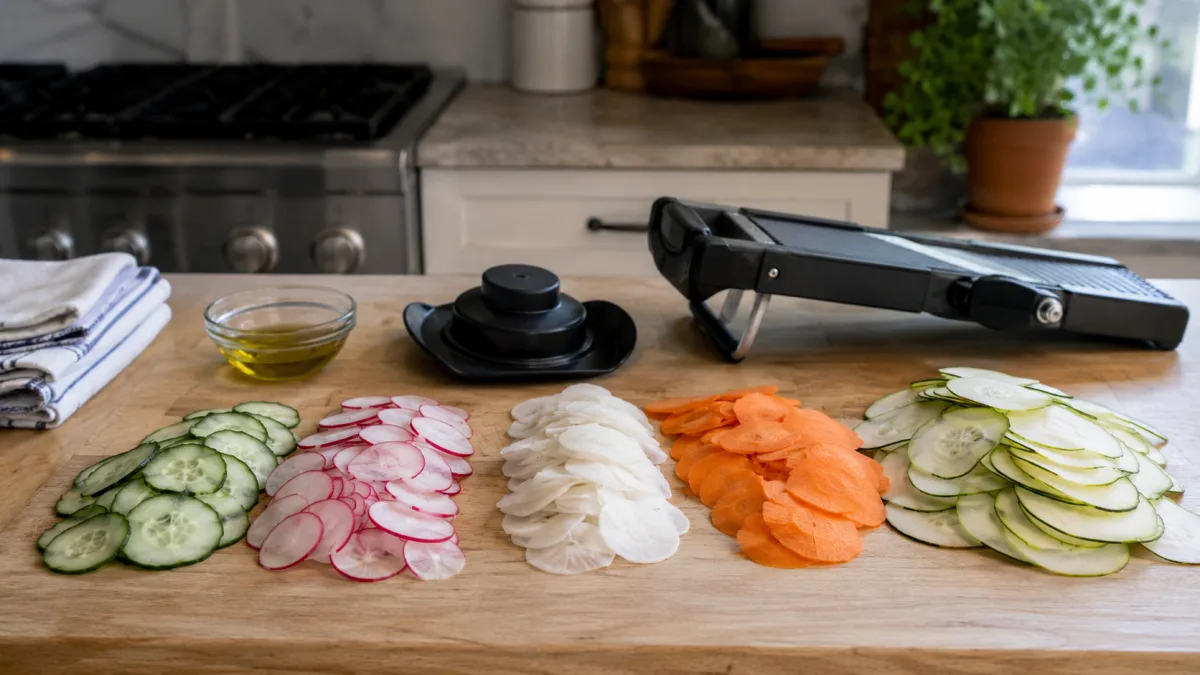
Not every vegetable wants to become a chip. The best choices have enough structure to slice thinly, enough natural starch or fiber to dry out cleanly, and a flavor that improves with browning. If you are using the oven, choose vegetables that can sit in a single layer without crowding. If you are using an air fryer, work in smaller batches and shake the basket more than once.
Potatoes and sweet potatoes
Russet potatoes make the most familiar chip because they are starchy and dry out well. Yukon Gold potatoes turn a little creamier and brown faster. Sweet potatoes bring more natural sugar, so they need slightly lower heat and close watching in the last few minutes. The FDA notes that soaking raw potato slices in water for 15 to 30 minutes can help reduce acrylamide formation during high-heat cooking, and its acrylamide food preparation guidance also advises storing potatoes outside the refrigerator in a cool, dark place.
Beets, carrots, parsnips, and turnips
Root vegetables make sturdy chips with a sweet edge. A mandoline helps, but a sharp knife works if you slow down. Beets need separate handling because their color stains everything near them. Carrots and parsnips shrink more than potatoes, so do not be surprised if a full tray looks modest after baking. Keep the slices close in thickness, or some will blacken before the rest dry.
Kale and other greens
Leafy chips need a different rhythm. Tear the leaves away from tough stems, wash them, dry them fully, then rub in a small amount of oil until the leaves lose their dry feel. The same patience helps with chard and collards, though those greens need a little longer than kale. For more ways to handle greens before they hit the pan, the Livecub guide to cooking greens is a useful companion.
Slice, Rinse, and Dry Like It Matters
The crispness of a homemade chip is decided before the tray goes into the oven. Thick slices steam. Wet slices steam. Crowded slices steam.
If the chips taste good but bend instead of snapping, one of those three things probably happened. Keep potato slices around one-sixteenth to one-eighth inch thick, and keep kale pieces large enough that they will not crumble as they dry.
For potatoes, rinse until the water is less cloudy, then soak if time allows. Drain well and spread the slices on a towel. Press with another towel until the surfaces feel dry, not just less wet. This one step does more for texture than adding more oil later. For vegetables that do not need soaking, washing still matters, but drying matters more.
A mandoline makes uniform work easier, but it deserves respect. Use the guard, stop before the vegetable gets too short, and finish the last piece with a knife. If you are prepping vegetables ahead, keep sliced potatoes in cold water for a short window, then dry them right before cooking. If you are trying to manage extra produce beyond one snack session, Livecub's guide on freezing fresh vegetables can help you decide what should be saved for later and what should be cooked now.
Bake or Air-Fry Without Drowning Everything in Oil
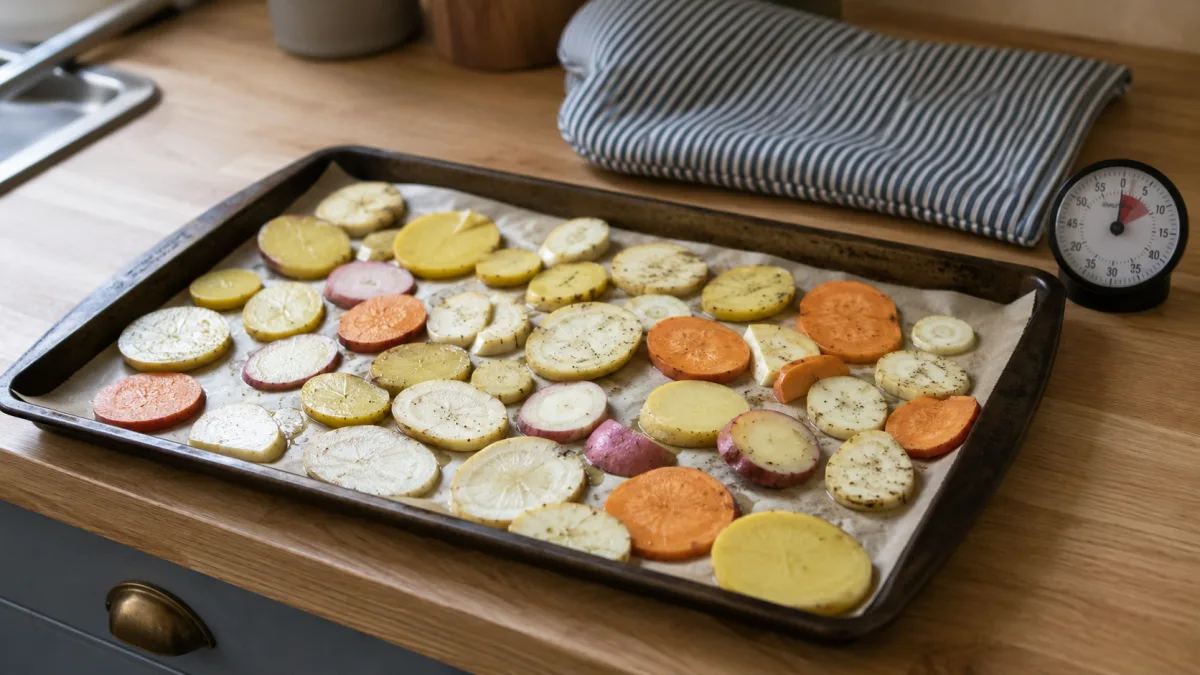
For oven chips, heat the oven to 325 to 375 degrees Fahrenheit depending on the vegetable. Potatoes can handle the higher end if the slices are thin and dry. Sweet potatoes and beets do better closer to the middle. Kale often cooks best around 300 to 325 degrees because it burns quickly once it dries. Line the tray with parchment, spread the slices in a single layer, and rotate the tray if your oven has hot spots.
For air-fryer chips, think in small batches. The basket needs airflow, so a pile of slices will not behave like a single layer. Cook at a moderate temperature, shake or turn the chips often, and pull out the ones that finish early. Air fryers vary a lot, so the first batch is your test batch. Write down the time that worked if you plan to repeat it.
The right amount of oil is usually just enough to make the surface glisten. Toss the slices in a bowl with oil, then use your hands to separate pieces that stick together. If oil pools on the tray, use less next time. If seasoning will not hold at all, add a half teaspoon more.
The USDA's MyPlate site keeps the larger snack habit in view by encouraging meals and snacks built around fruits, vegetables, grains, protein, and dairy; homemade chips fit best as one snack choice, not the whole plate. You can read more at MyPlate.gov.
Season After the Heat
Salt pulls moisture out of vegetables. That can help in some recipes, but it can make thin chips limp if you salt too early. For most batches, cook first and season while the chips are hot.
Fine salt sticks better than coarse salt. Powdered seasonings cling better than flakes. If you want vinegar flavor, use vinegar powder or a very light mist after baking, then let the chips sit uncovered for a few minutes.
Good chip seasoning does not need to be loud. Smoked paprika and garlic powder work with potatoes. Chili powder and lime zest suit sweet potatoes. Sesame seeds and a pinch of salt work with kale.
Nutritional yeast brings a savory flavor without needing much. If you already like making fast sauces, Livecub's list of stir-fry sauces can also give you ideas for yogurt dips, tahini dips, or a small spicy drizzle on the side.
Keep sweet and salty ideas separate until you know the chip base. Cinnamon can work on sweet potatoes, but it tastes odd on beet chips unless you pair it with a little chili. Parmesan can work on potato chips, but add it near the end so it melts and dries instead of burning. A small test bowl beats seasoning the whole tray badly.
Store Small Batches So They Stay Snappy
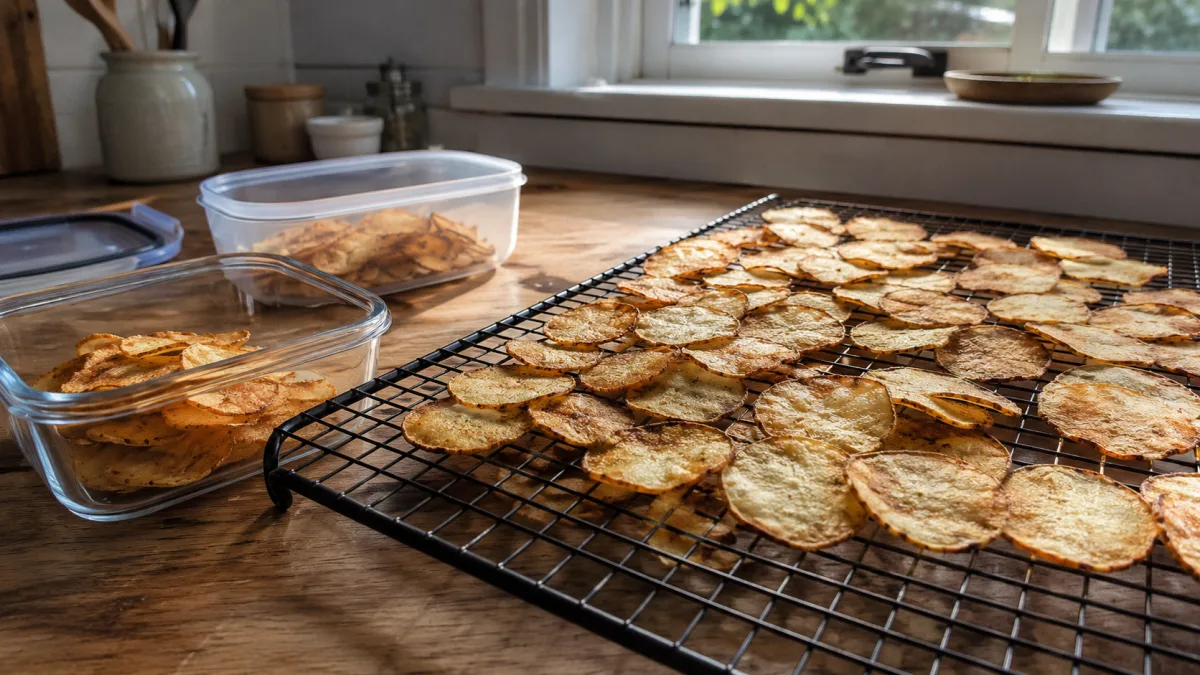
Homemade chips taste best the day they are made. That is not a failure; it is the trade for avoiding heavy processing and sealed commercial packaging. If you need to store them, let them cool fully first. Warm chips in a closed container create steam, and steam takes away the snap you worked for.
Use a shallow airtight container once the chips are cool. Add a folded paper towel if the chips are root-vegetable chips, and skip it for kale if the towel seems to soften the leaves. Keep the container at room temperature and eat the chips within a day or two. If they soften, a few minutes in a low oven can bring back some texture. Watch carefully because reheated chips burn faster than raw slices.
Do not mix chip types in one container unless they have the same dryness. Kale chips will soften beside potato chips. Beet chips can share color and aroma with anything nearby. A little separation keeps flavors clean and makes the leftovers more pleasant.
A Practical Batch Plan
Start with one large russet potato, one small sweet potato, or one bunch of kale. Make one kind first. Slice, rinse if needed, dry well, toss with oil, cook in one layer, and season at the end. This keeps the lesson clear.
If the batch bends, slice thinner or dry longer. If it burns before it crisps, lower the heat. If it tastes flat, season sooner after cooking while the surface is still warm.
Once you know your oven or air fryer, build a mixed snack board. Put potato chips in one bowl, kale chips in another, and root chips in a third. Add a dip, a little fruit, and something with protein if the snack is meant to hold you for a while. The difference between a snack that satisfies and one that starts a grazing session is often balance, not a stricter chip recipe.
The best healthy homemade chips still feel like chips. They crackle, they taste seasoned, and they disappear quickly. The only real change is that you know exactly what went into them.
Frequently Asked Questions
Are homemade chips actually healthy?
They can be a better everyday choice than many packaged chips because you control the oil, salt, and portion size. They are still a snack, so the healthiest version is the one served in a reasonable bowl beside other foods.
Why do my homemade chips turn soggy?
Soggy chips usually come from thick slices, wet surfaces, crowding, or closed storage while warm. Slice thinner, dry more carefully, cook in one layer, and cool the chips before storing.
Can I make chips without oil?
You can, especially with kale, but the texture and flavor are usually better with a very small amount of oil. A light coating helps heat transfer and helps seasonings stick.
What is the easiest chip for beginners?
Kale is quick, but it burns fast. Potato chips teach the basics best because the texture changes are easy to see, and small adjustments in slice thickness make a clear difference.

Linda Fehrman
Edits general wellness and relationship explainers. Health material is educational, avoids diagnosis and links to health-authority guidance.



Leave a reply
Replying to