
Separate ADF Lamp Failure From Simple Scan Problems
ADF lamp failure sounds like a single broken part, but many scanner and copier problems look similar from the outside. A dark scan, vertical streak, repeated calibration error, paper-feed fault, or blank copy may come from the light source, the glass strip, the sensor path, the feeder rollers, the software driver, or the machine's control board. Start with symptoms before assuming the lamp is dead.
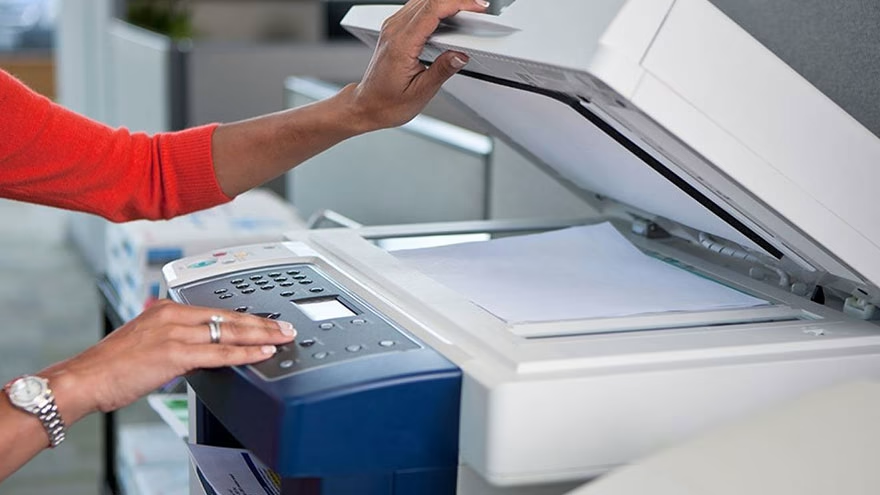
An automatic document feeder moves paper across a narrow scan window while the scanner's light and image sensor capture each line. Flatbed scanning uses a different path. That difference gives you the first test: scan the same page from the flatbed and then from the feeder. If only the feeder scan fails, the ADF path is the stronger suspect.
A real lamp or scan-light problem often affects exposure, calibration, or every scan path tied to that light. A dirty ADF strip usually creates lines or repeated marks in the same place. A feed problem creates skew, jams, double-feeds, or missing pages.
Compare ADF Scans With Flatbed Scans
Run one clean page through the ADF and scan the same page on the flatbed glass. Keep the settings the same. If the flatbed scan is clear while the ADF scan has a vertical black line, the lamp is usually not the first suspect. The ADF glass strip, white backing strip, or feeder path may be dirty or scratched.
HP's support page on vertical lines from the ADF says debris on the ADF glass causes almost all lines and streaks on copies made through the feeder. That is why a flashlight, lint-free cloth, and careful glass-strip check come before part replacement.
If both flatbed and ADF scans are black, blank, badly exposed, or show a scan-lamp error, the problem may sit deeper. It could be the lamp assembly, scan head, power supply, inverter on older lamp designs, ribbon cable, sensor board, firmware state, or calibration routine.
The most useful first branch is ADF only or all scans. That choice keeps the diagnosis from wandering and protects the repair budget.
Clean the ADF Glass and White Strip
Turn the device off and follow the maker's cleaning instructions. Canon's ADF cleaning instructions tell users to use a soft, clean, lint-free, dry cloth and to turn off and unplug the printer before cleaning. Some brands allow a lightly dampened cloth or alcohol on certain parts, so check the model guide before using liquid.
The narrow ADF glass strip is easy to miss because it is not the large flatbed pane. A tiny speck of correction fluid, ink, glue, dust, or paper coating can make a long line down every page. Clean the strip, the white backing area, and any exposed scan path surfaces the manual identifies.
Do not spray cleaner directly into the machine. Liquid can run into sensors, adhesives, seams, or electronics. Apply cleaner to the cloth only if the manufacturer allows it, then dry the area before testing again.
Brother's support guidance for black vertical lines in ADF scans also points users toward the ADF scanner glass and white plastic surface. Different brands use different wording, but the pattern is the same: clean the scan strip before replacing hardware.
Check the Feeder Before Blaming the Light
A failing feeder can look like a scan failure because the image data arrives distorted. Dirty rollers can slip, worn pads can double-feed, and torn paper scraps can block document sensors. If the lamp turns on but pages skew, stop, or arrive unevenly, the feed path needs attention.
Inspect the rollers for shiny worn spots, paper dust, labels, and small scraps. Open every ADF door the manual permits. Remove torn paper carefully. If the device reports an ADF error before the scan starts, the pickup, cover, or document sensor may be involved rather than the lamp.
This is the same troubleshooting discipline used in other tech failures. Livecub's guide to FileZilla response 503 separates connection state from credentials and server behavior; ADF work also gets easier when each layer is tested separately.
Use one-page tests first. A five-page test can hide which sheet caused the problem.
Reset, Firmware, and Error Codes
After cleaning and inspection, power the device down, wait, and restart it according to the manual. Some scanners recalibrate the lamp and sensor at startup. If the error clears after a proper restart and does not return, the issue may have been a temporary calibration state.
Do not keep hard-resetting a machine that smells hot, clicks unusually, flashes the same optical error, or stops during calibration. Repeated attempts can waste time or stress parts. Write down the exact error code and the point where the scan fails.
PFU's ScanSnap documentation for an optical ADF error tells users to clean the glass, then turn the scanner off and back on. That sequence is useful because it pairs the physical path with the calibration state.
If a service menu offers lamp tests, use only the procedure for your exact model. Do not enter random service codes found for a different machine. Service menus can change calibration values, counters, or settings that make the repair harder.
When the Lamp or Scan Assembly Is Likely Bad
A lamp or scan-light assembly becomes more likely if the scanner cannot calibrate, both flatbed and ADF scans are unusable, the light never comes on when it should, or the device reports a repeated optical error after cleaning and restart. On LED scan bars, the "lamp" may be an LED array rather than a replaceable tube.
Older scanners may use cold cathode fluorescent lamps, while newer units often use LED light sources. The repair path differs. A lamp tube, inverter, cable, scan carriage, contact image sensor, or main board can all be part of the same symptom chain.
Before ordering parts, compare the repair cost with the machine's age, toner or ink supply, duty cycle, and availability of service manuals. Some office scanners are worth repairing; small all-in-one printers may not be.
For related hardware triage, Livecub's physical HDD failure recovery article shows the same caution: when hardware may be failing, stop guessing and protect the data or workflow first.
When to Stop and Call Service
Call service when the machine reports the same optical error after cleaning, restart, and a flatbed-versus-ADF comparison. Also stop if the scanner smells hot, makes a grinding sound during calibration, shows a broken lamp cover, or has liquid damage near the scan glass. Those signs move the job past normal user cleaning.
For a shared office machine, gather useful details before opening a ticket: model number, serial number, exact error text, firmware version if visible, test-page results, whether flatbed scans work, and what cleaning was already done. A clear ticket can shorten the first service visit.
Do not keep disassembling covers beyond the user-accessible areas unless the service manual says to do it. Scanner lamps, LED bars, high-voltage sections in older designs, and fragile ribbon cables can make a simple fault worse. The safer boundary is clean, test, document, then escalate.
If the machine is business-critical, plan around downtime. Move urgent scanning to another device, a phone scanning app for non-sensitive pages, or a print shop if privacy rules allow it. Repair planning should protect the document workflow, not just the machine.
Build a Practical Troubleshooting Order
Use this order: test flatbed versus ADF, clean the ADF glass strip, inspect the white backing and feeder path, test a single page, restart the device, note exact error codes, update software only if the maker recommends it, then consider service. Skipping straight to the lamp usually wastes money.
If the scanner is shared in an office, ask who used labels, correction fluid, sticky notes, or carbonless forms before the problem appeared. Those materials often leave residue exactly where the feeder scans.
Livecub's article on decoding email delivery failure is another example of starting with the exact error rather than the broad complaint. "Scanner broken" is not enough. "ADF-only vertical line after label sheets" is actionable.
The best repair decision is evidence before parts. Clean the path, compare scan modes, record the error, and replace the lamp or scan assembly only after simpler causes have been ruled out.
Frequently Asked Questions
What does ADF lamp failure mean?
It usually means the scanner's feeder-side scan light or optical path is not working correctly, but dirty glass, rollers, and sensors can mimic it.
Why do ADF scans have a vertical line?
A fixed vertical line is often caused by debris or residue on the narrow ADF glass strip, not by a failed lamp.
Should I replace the scanner lamp myself?
Only if the model is designed for that repair and you have the correct part and manual. Many newer units use LED scan assemblies.
Why does the flatbed scan work but the ADF scan fails?
The feeder path has its own glass strip, rollers, backing area, and sensors. A problem there may not affect flatbed scans.

Timothy Davidson
Edits step-by-step general-interest guides for clarity, realistic limits and source verification.




Leave a reply
Replying to