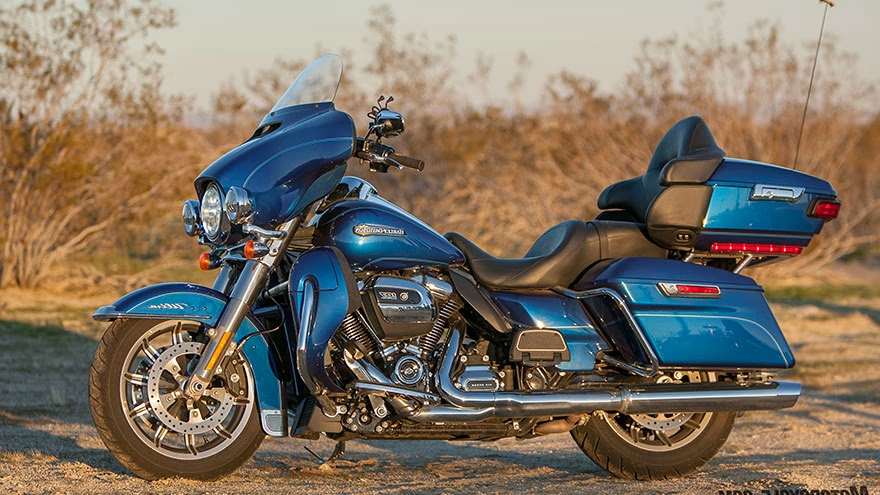
This is a task the motorcycle enthusiast can do at home. You can remove and replace your grips in a couple of minutes.
Things You'll Need
- Torx wrench (star shaped) or Allen Wrench (hexagonal)
- Needle nose pliers
- String
- Replacement grips
How To Install New Grips On An Electra Glide

Wheel your bike onto a level surface and engage the bike stand. Put the transmission into gear to prevent movement.
Examine the screws on the switch brake and clutch handle on the handlebars. Newer models will require the use of a Torx wrench while older models will require an Allen wrench.
Use the wrench to unscrew the screws on the left-hand clutch housing. Remove both sides of the housing. Keep the clutch housing and the screws in a safe place.
Remove the right-hand brake housing using the same wrench. Once you have removed the screws and the housing, you will notice two small wires attached to the grip. Use the needle nose pliers to remove the wires, taking note of their orientation.
Pull on the grips to remove them. Twisting them from side to side will expedite this process.
Use the string to wrap around the handlebars to determine the grip size. The standard models are 1 inch in size, but custom handle bars can be up to 2 inches in size.
Twist on the new grips. Use the pliers to place the right-hand brake wires in the same position as you had them before. Replace the housings and screws of the brake and clutch.
Tips & Warnings
- Ensure that the bike will not move or fall over while you are working on it
- Test to ensure that the brake and clutch are in good working order before heading out on your bike.
- Always wear a helmet when riding a motorcycle.
Save for later
Found this helpful?
Pin this article to your Pinterest board and come back to it whenever you need a reminder.
Save to Pinterest


