A jump board turns the Pilates reformer into a low-impact jumping station. The carriage moves instead of the body landing on a hard floor, so the work can feel springy, rhythmic, and athletic without the same pounding as regular jumps. Learning how to use a jump board on the Pilates reformer still requires setup, body control, and instruction. It is not just a board you kick.
This guide is educational and does not replace coaching from a qualified Pilates instructor or medical advice. If you have foot, ankle, knee, hip, back, pelvic-floor, balance, pregnancy, heart, or bone-density concerns, get clearance before trying jump board work. A reformer can make jumping feel gentle while still asking a lot from joints and coordination.
What Is A Pilates Jump Board?
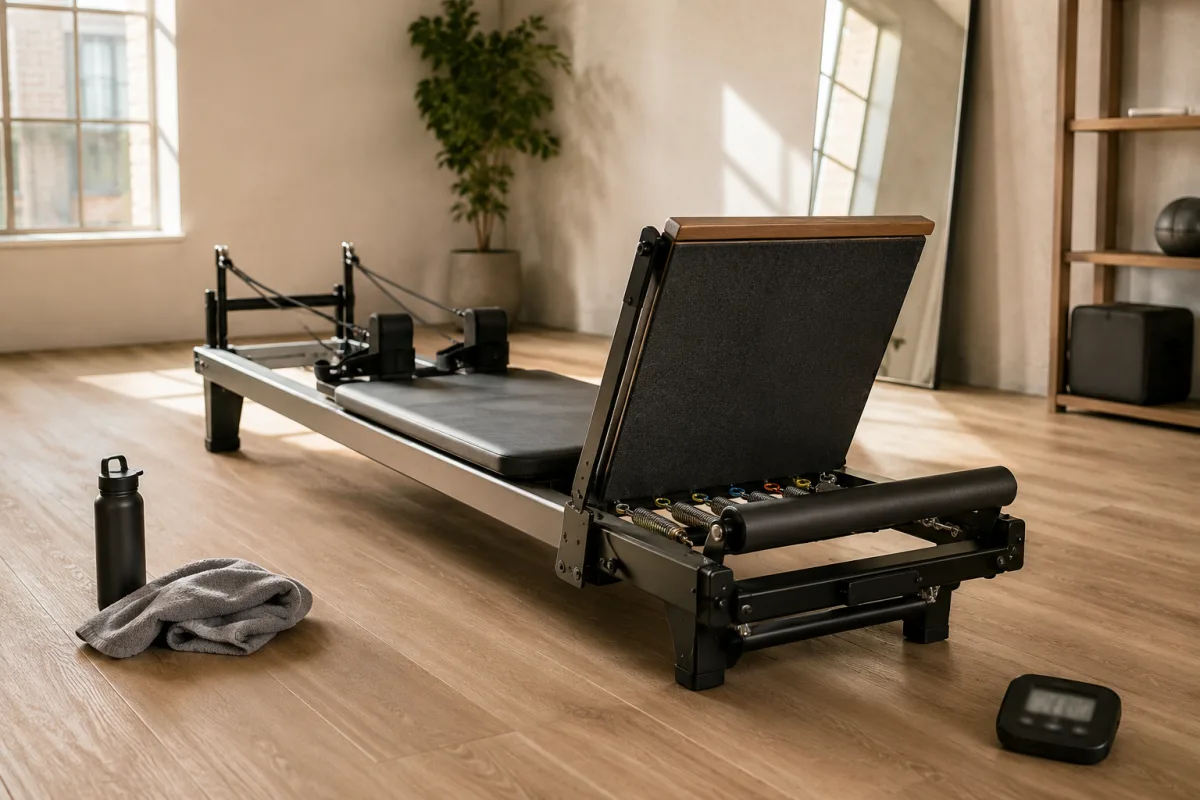
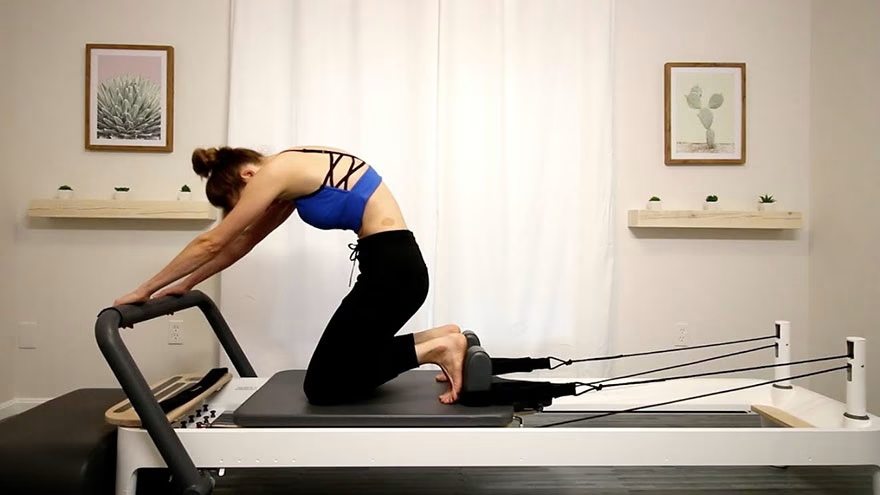
A jump board is a padded vertical board attached at the footbar end of a reformer. Instead of pressing the footbar, the feet press into the board and send the carriage away. The Balanced Body reformer guide describes the reformer as spring-based equipment with a moving carriage, straps, and adjustable resistance. The jump board uses that same spring system for controlled, lying-down jumps.
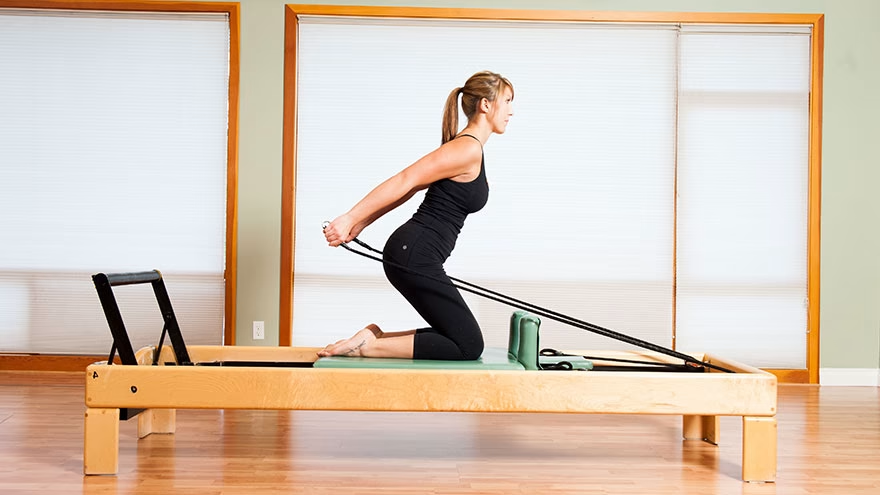
The appeal is rhythm. You can practice footwork, alignment, calf control, hip stability, and coordination while lying supine. It can also add a cardio feeling to a reformer session. If you are comparing gentler movement systems, Livecub's Pilates or Tai Chi comparison helps explain why control and pacing matter more than novelty.
Who Should Use A Jump Board?
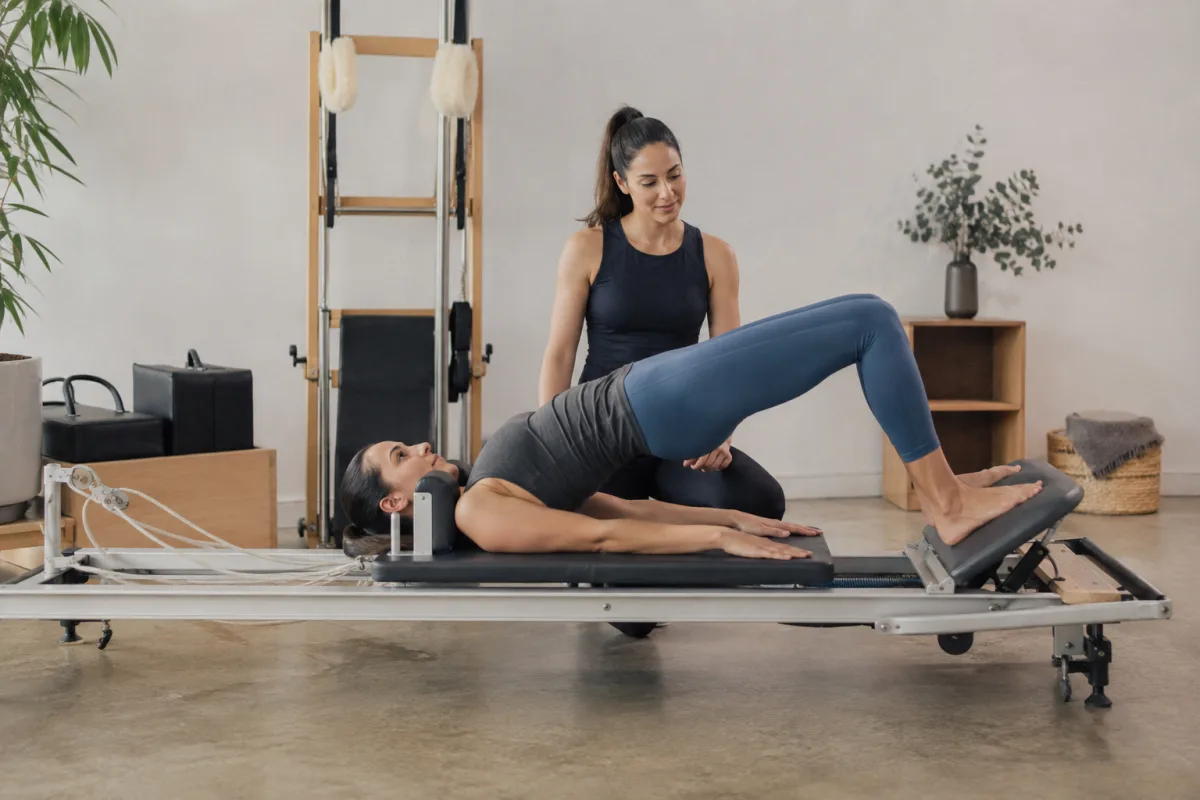
Jump board work suits people who already understand basic reformer safety: neutral pelvis, rib control, shoulder placement, foot alignment, carriage control, and how spring resistance feels. A brand-new student should learn regular footwork first. If you cannot control the carriage slowly, jumping faster will not fix that.
It may not suit people with recent injuries, unstable joints, vertigo, unmanaged pain, or medical restrictions on impact. It also may be too stimulating for someone who has trouble keeping the carriage quiet. A good instructor can scale the work with lighter pace, smaller range, or supported foot patterns. The right starting point is the one you can control.
How Do You Attach The Jump Board?
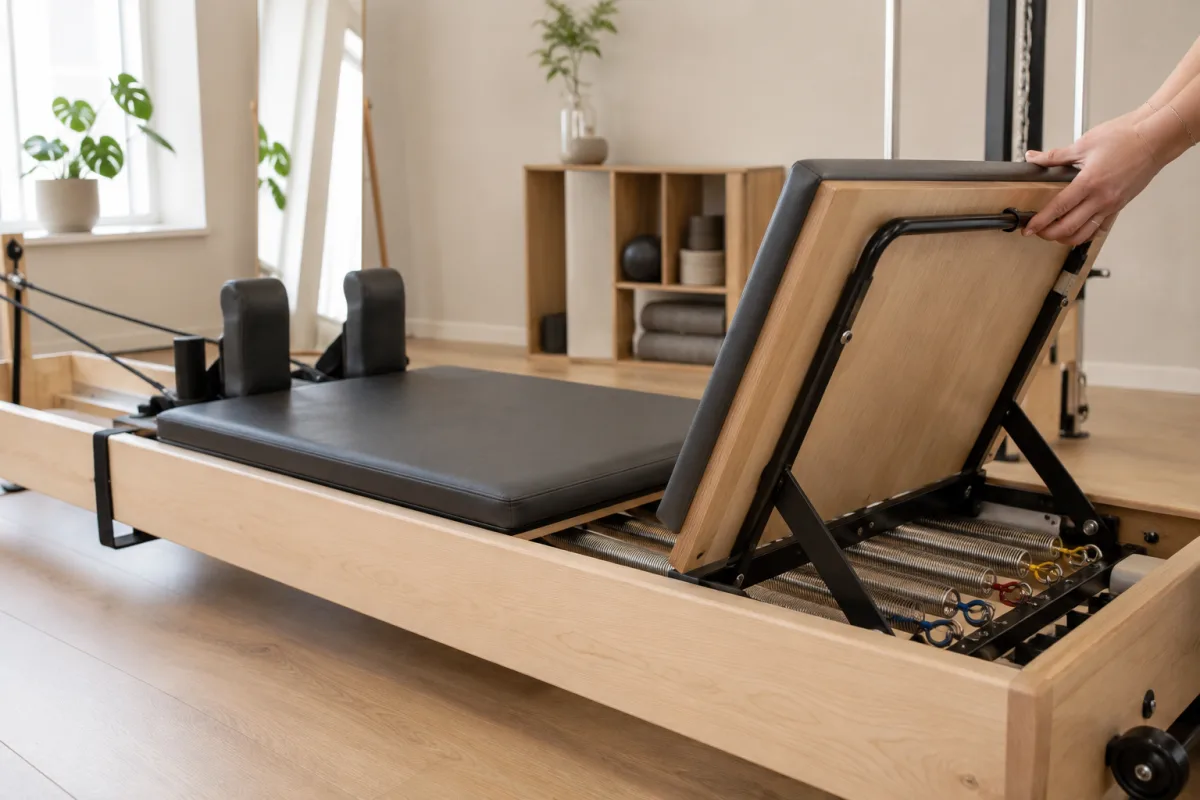
Follow the manufacturer's directions for your exact reformer. Different brands use different slots, locking pins, frames, or bungee systems. The board should sit securely, without wobble, before anyone lies down. Check that the footbar is positioned as required by that reformer model and that the board is fully seated.
Do not guess with studio equipment. Ask the instructor or studio owner to show the attachment. A loose board can create a real injury risk. Before class, look for worn padding, damaged straps, loose bolts, unstable springs, or anything that feels wrong. Equipment checks are part of good Pilates practice, not a sign that you are being difficult.
What Spring Setting Should You Use?
Spring choice depends on reformer brand, body size, exercise, speed, and instructor plan. Too much resistance can make the landing feel jammed. Too little resistance can make the carriage hard to control. For many beginners, a moderate setting with a slow tempo is better than chasing height.
Start with basic foot positions: parallel heels, parallel toes, small V, wide stance if appropriate, then single-leg patterns only when control is clear. The jump should come from pressing the whole foot, not snapping the knees or flinging the hips. If you teach group movement, Livecub's aerobics class teaching guide is a useful reminder that cueing pace and safety matters when energy rises.
Change only one variable at a time. If you make the spring lighter, keep the exercise simple. If you add single-leg work, slow the tempo. If you add arm straps, shorten the interval. Jump board problems often appear when several changes arrive together and the student cannot tell which one made control harder.
What Does Good Jumping Form Feel Like?
Good form feels quiet. The head and shoulders stay relaxed, ribs do not flare, pelvis does not rock, and knees track in line with the second and third toes. The feet land softly through the board instead of slapping. The carriage moves smoothly out and back without banging into the stopper.
The return matters as much as the takeoff. Bend the knees before the carriage closes, keep the ankles responsive, and land through a controlled foot. If your knees collapse inward, your toes grip, or your back arches, slow down. Basic aerobic work has the same lesson; Livecub's basic aerobic steps article shows how small alignment errors can show up when rhythm takes over.
What Beginner Exercises Work Best?
Begin with two-foot jumps in parallel. Then try small V, heel landings, toe landings, alternating feet, and tiny prances. Keep the range small until the carriage stays controlled. Add arm straps only after the legs are reliable, because arms increase coordination demand.
Pilates Anytime's jump board class library shows how the board is often used for variety, coordination, and cardio-style work on the reformer. That is a good frame. The jump board should not replace foundational reformer work. It should build on it. A student who rushes past setup may get sweaty but miss the Pilates part.
What Safety Mistakes Should You Avoid?
Avoid jumping with the board loosely installed, locking the knees, landing with turned-in knees, bouncing into the stopper, holding the breath, or moving faster than the carriage can return. Avoid trying advanced choreography from a video when no one has checked your form. The reformer gives feedback, but it will not protect you from every bad choice.
Stop if you feel sharp pain, dizziness, numbness, chest discomfort, unusual shortness of breath, or joint instability. Muscle effort is normal. Warning signs are different. If you use heart-rate tracking in workouts, Livecub's Polar chest strap battery guide is a practical reminder that equipment should be reliable before you depend on it.
Fatigue changes landing. A set that looked clean in the first minute can become noisy when the calves and hips tire. Stop before form falls apart. Pilates jump board work should leave you feeling worked, not rattled. Quality is the filter that decides whether another interval belongs in the session.
How Should You Build A Short Workout?
Warm up first with footwork, bridging, feet in straps, or gentle mobility. Then use short jump board intervals: 30 to 60 seconds of simple jumps, rest, reset alignment, and repeat. Finish with slower reformer work or stretching. The board can raise heart rate, but Pilates quality should stay visible.
If weight loss is the goal, treat jump board work as one piece of a broader routine. It can add movement and intensity, but food, sleep, strength, stress, and consistency still matter. Livecub's Tae Bo weight-loss guide makes the same point in a different exercise style: the workout works best when it is part of a sustainable plan.
Write down the springs, interval length, and exercises after the session. The notes help you repeat what worked and avoid guessing next time. They also give an instructor better information if something felt too heavy, too fast, or uneven from one side to the other.
Keep the first few sessions boring on purpose. The goal is to learn how the carriage responds, how your feet land, and how your body feels the next day. Once that baseline is clear, progress is easier to judge.
Frequently Asked Questions
Is jump board Pilates cardio?
It can raise heart rate, especially in intervals, but the session should still prioritize control, alignment, and breathing.
Can beginners use a jump board?
Some can, with an instructor and simple settings. Absolute beginners should learn reformer basics first.
Does jump board work hurt knees?
It should not cause knee pain. Poor alignment, wrong springs, speed, or existing injury can make it risky.
Should I wear shoes?
Follow the studio rule and instructor guidance. Many people use grip socks, but some settings may call for different footwear.
How long should a first session be?
Keep it short. A few controlled intervals inside a normal reformer session are better than a full class of sloppy jumping.
What Is The Best First Step?
Learn the setup from a qualified instructor, choose a conservative spring setting, and master quiet two-foot jumps before adding speed. The jump board is fun because it moves, but it becomes useful when you can keep the movement clean.
Cashie Evans
Covers parenting and practical household topics with clear steps, safety notes and links to current guidance.
Leave a reply
Replying to