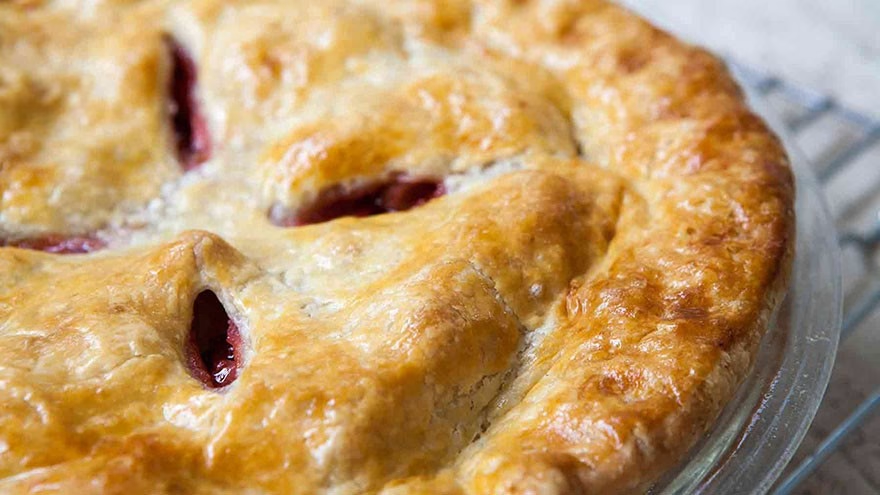
Many people won’t even attempt it and rely solely upon ready-made refrigerated pie crusts found in the grocery store.
But, truthfully, pie crusts aren’t difficult to make if you know a few tricks – and they taste so much better than any ready-made crust.
What You Need
Pie crust is typically made with all purpose flour, although some recipes also include whole wheat flour. You will also need a source of fat – usually either butter or vegetable shortening (like Crisco). A little water is also needed, as is salt.Any mixing bowl will do, but a good aluminum mixing bowl that can be pre-chilled is a nice thing to have. Many people use pastry cutters for making pie crusts, but you can also use your hands or two knives.
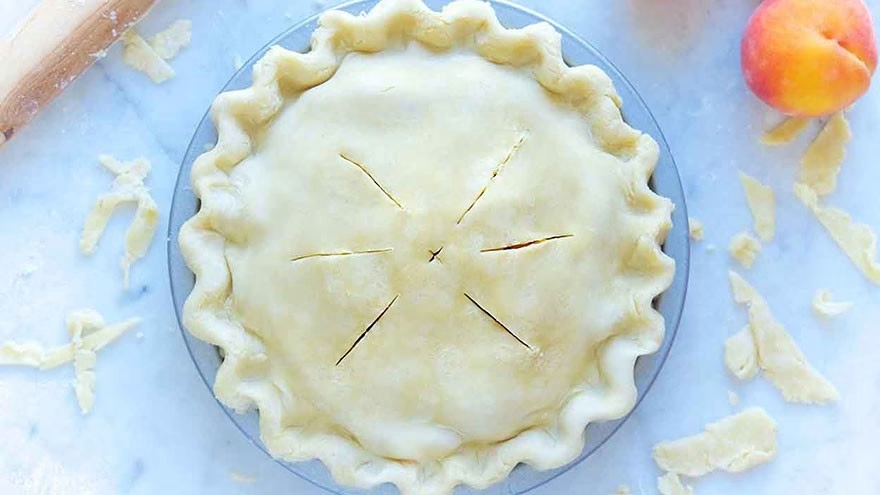
For rolling the dough, an old-fashioned wood rolling pin works as well as anything. You don’t need special rolling mats. A clean countertop with a little flour on it works just as well. You might also need a fork for pricking holes in the pie crust if it needs baking before filling. A fork is also useful for sealing the edges of the pie crust.
A pastry brush is handy for wiping off excess flour from the pie dough once it’s rolled out, and can also be used for brushing an egg wash over the crust to make it more golden and flaky.
Although a food processor isn’t necessary for pie crust creation, it does make the procedure go faster – and the faster the pastry gets whipped together, the flakier the crust will be.
As for the pie plate – glass is the best all-round choice. Aluminum plates should only be used for pies that aren’t baked.
Cold İs Your Friend
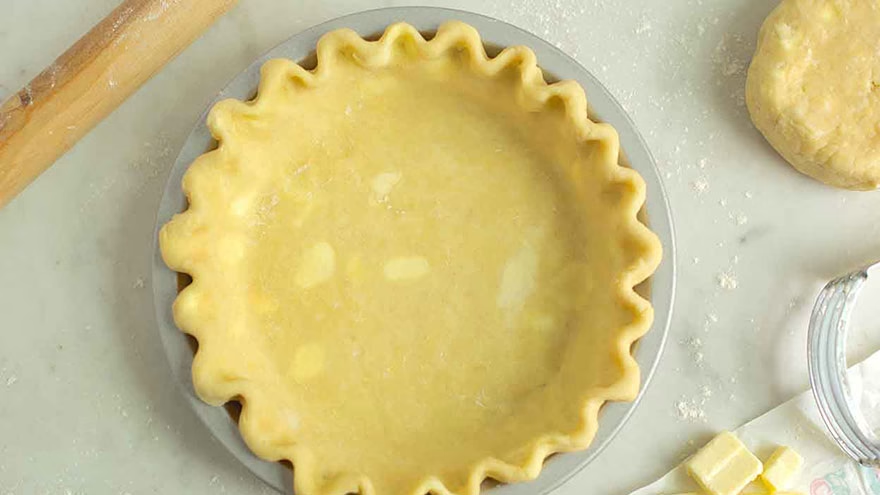
My basic pie crust recipe uses room temperature vegetable shortening, but if yours calls for butter, you should chill it well before using.The best way to do this is to cut the butter up into small pieces (about ¾ inch square), place them in a heap on top of a piece of plastic wrap, wrap the pieces up, and stick them in the freezer for about 30 minutes.
Don’t remove them until it’s time to add them to the recipe.
The water used to moisten the pastry should also be cold. If your tap water is quite cold, use that. Otherwise, put some water in a freezer-proof container, freeze it until it’s quite cold to the touch, then add it to the recipe.
Mixing the Ingredients
Measure the flour and put it in a mixing bowl or food processor. Add the fat and either process or cut with a pastry blender or two knives until it looks like coarse meal. The fat lumps should be no bigger than an average pea.Add the water a tablespoon at a time, sprinkling it over the fat and flour mixture. Continue mixing with the food processor or with a spatula until the mixture holds together when it’s squeezed together in between your fingers.
If you’ve mixed enough dough for two crusts, divide the dough now and wrap each ball in plastic wrap. Press down on the plastic wrap to create a disc.
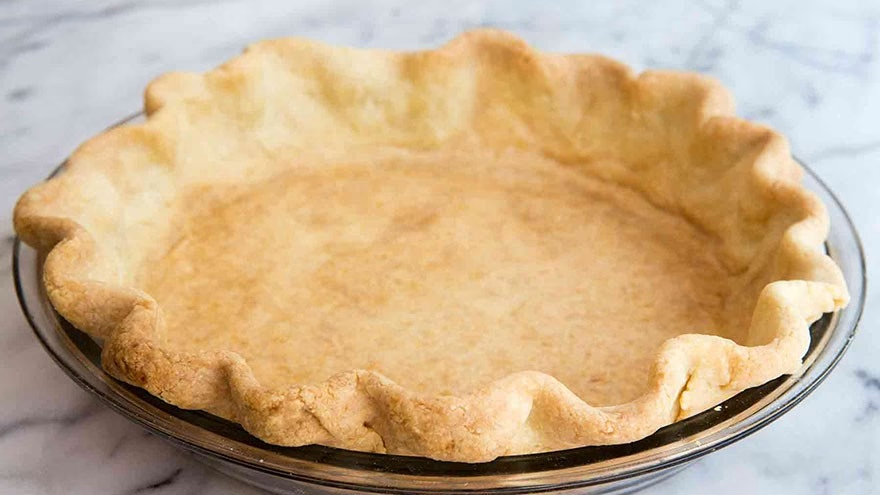
For best results, pace the dough in the refrigerator for an hour or so. The crust will be flakier if you do.
You may reach Part II of "Make the Perfect Pie Crust."
Check out the video version of this article on

Cashie Evans
Cashie is a freelance writer covering a variety of topics, including parenting, tips and tricks. She took her love of writing to the Web. Cashie attended Louisiana State University and received her bachelor’s degree in 2009.


Leave a reply
Replying to