
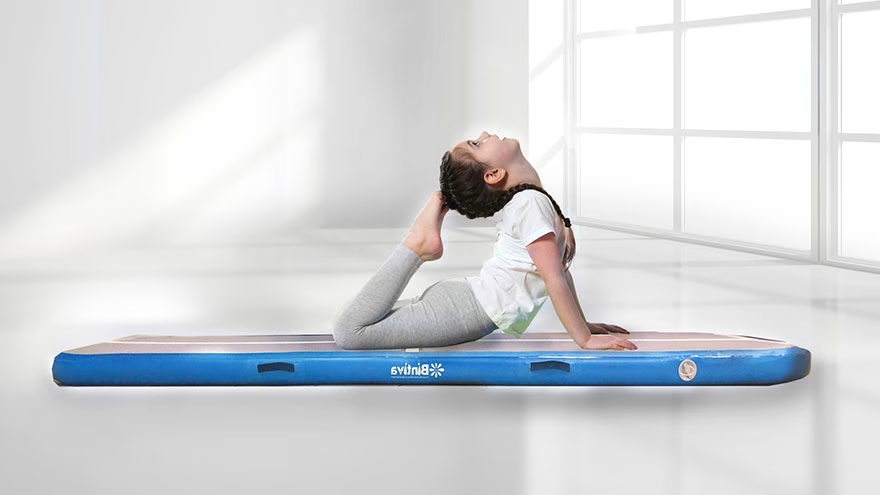
How to Make a Tumbling Mat should begin with a sober limit: a homemade mat can be useful for stretching, rolls, handstand drills, floor conditioning, and low-impact practice, but it should not be treated like certified gymnastics safety equipment for flips, aerial skills, or high landings.
The goal is a firm, padded surface that stays flat, has a wipeable cover, and does not slide around the room. If the skill needs a coach, spotter, spring floor, crash mat, or formal gym setup, do not solve that problem with a craft project.
What Kind Of Tumbling Mat Can You Make?
A practical DIY mat is usually a rectangular foam core inside a vinyl or heavy fabric cover. It can be a single panel or a folding panel design. It works best for basic home movement, not advanced gymnastics.
Commercial gymnastics mat suppliers describe mats as foam cores with protective covers, often vinyl, in different thicknesses for different activities. That same basic structure is the model for a home version.
What Materials Do You Need?
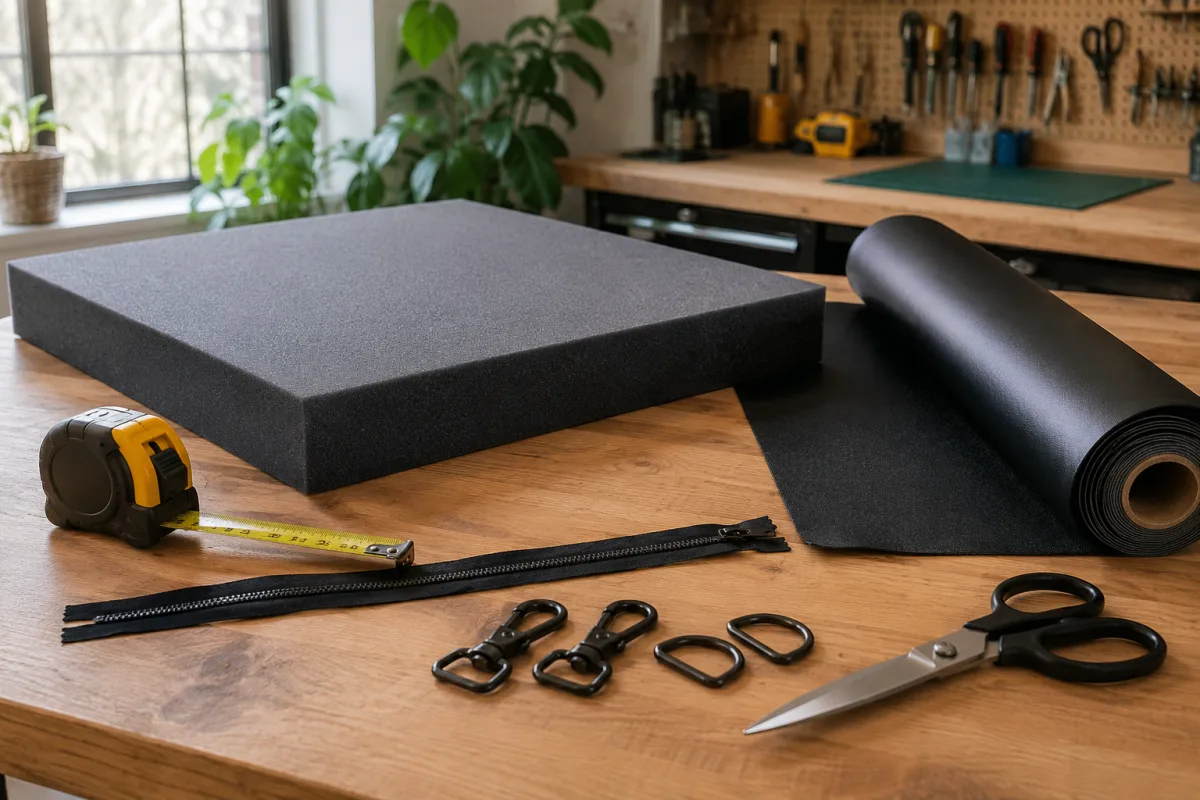
You need high-density foam, marine vinyl or heavy coated fabric, heavy thread, zipper or hook-and-loop closure, measuring tape, straightedge, marker, scissors or foam cutter, sewing machine or upholstery needle, and non-slip backing if the mat will sit on slick flooring.
Do not use soft mattress foam if the mat is meant for movement. Foam that swallows your feet can make balance worse. You want cushion with enough firmness that hands and feet do not sink deeply.
How Thick Should The Foam Be?
Thickness depends on use. Thin mats may be fine for stretching and light floor work. Thicker mats offer more cushion but can feel unstable if the foam is too soft. Many commercial folding mats for home practice sit around the 1.5 to 2.5 inch range, depending on purpose.
Greatmats' gymnastics mat thickness guide discusses common thickness choices and the balance between shock absorption and firmness. Use that idea, not a random pillow stack.
How Big Should The Mat Be?
Measure the space and the movement. For stretching, a narrow mat may work. For rolls, cartwheel drills, or conditioning, you need more length and width. A common home size is around 4 by 6 feet, but your space and storage matter.
If the mat will fold, divide the length into panels. Three panels are easier to store, but every fold creates a seam. Put seams where they will not be the main landing line during drills.
How Do You Cut The Foam?
Mark the foam carefully with a straightedge. Cut slowly with a long blade, electric carving knife, or foam cutter. Keep edges square so the cover fits cleanly. Ragged edges make the mat lumpy.
If making panels, cut each panel the same size. Label them before covering. A small size mismatch becomes annoying once everything is sewn and the fold lines no longer sit flat.
How Do You Make The Cover?
Measure the foam, then add seam allowance and enough depth for the foam thickness. Vinyl is wipeable, but it can be difficult to sew. Use clips instead of pins when possible because pinholes can remain visible.
Add a zipper or hook-and-loop opening on one side so the cover can be removed or repaired. Do not make the cover so tight that the foam curls. A smooth fit is better than a strained one.
How Do You Make A Folding Mat?
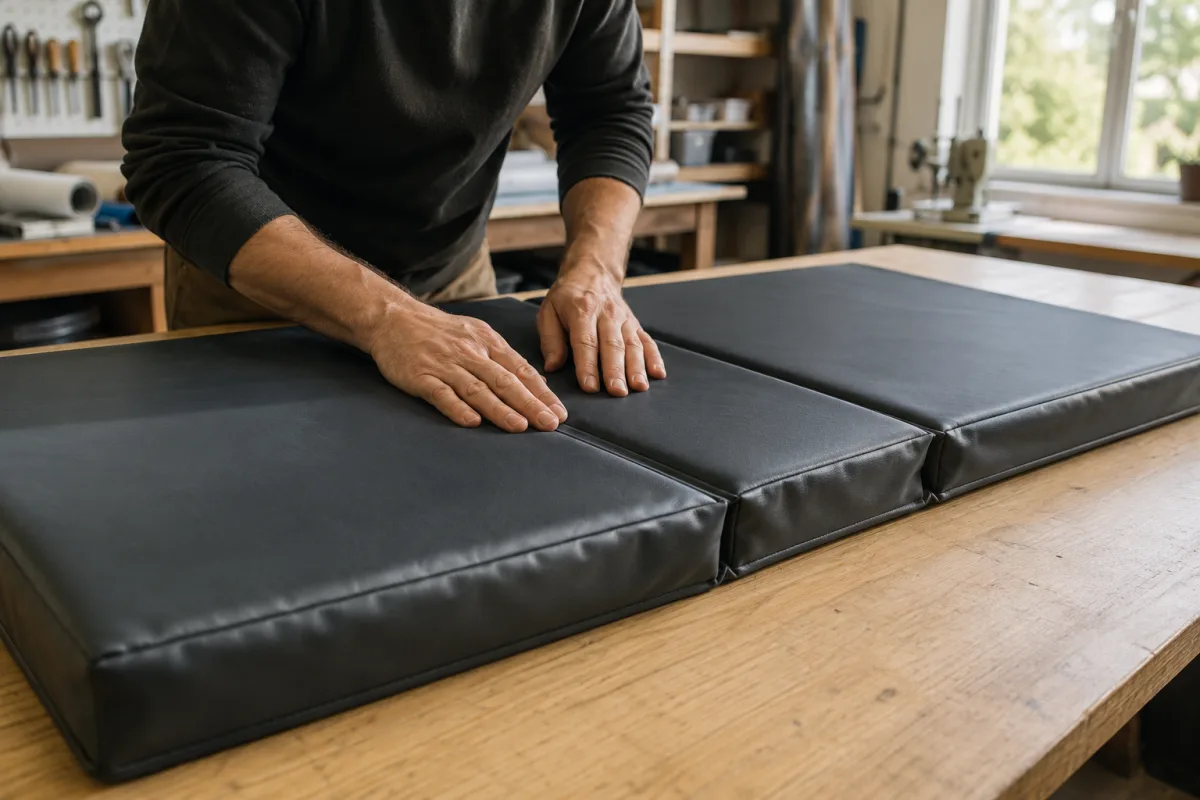
Make separate foam panels inside one connected cover, or sew individual sleeves joined by flexible fabric hinges. The hinge should fold cleanly without leaving big gaps. Reinforce the edges because folding puts stress on seams.
Tumbl Trak's tumbling mat product page shows why folding design is useful for home storage and basic practice. A DIY version should copy the storage logic, not claim the same tested performance.
How Do You Keep The Mat From Sliding?
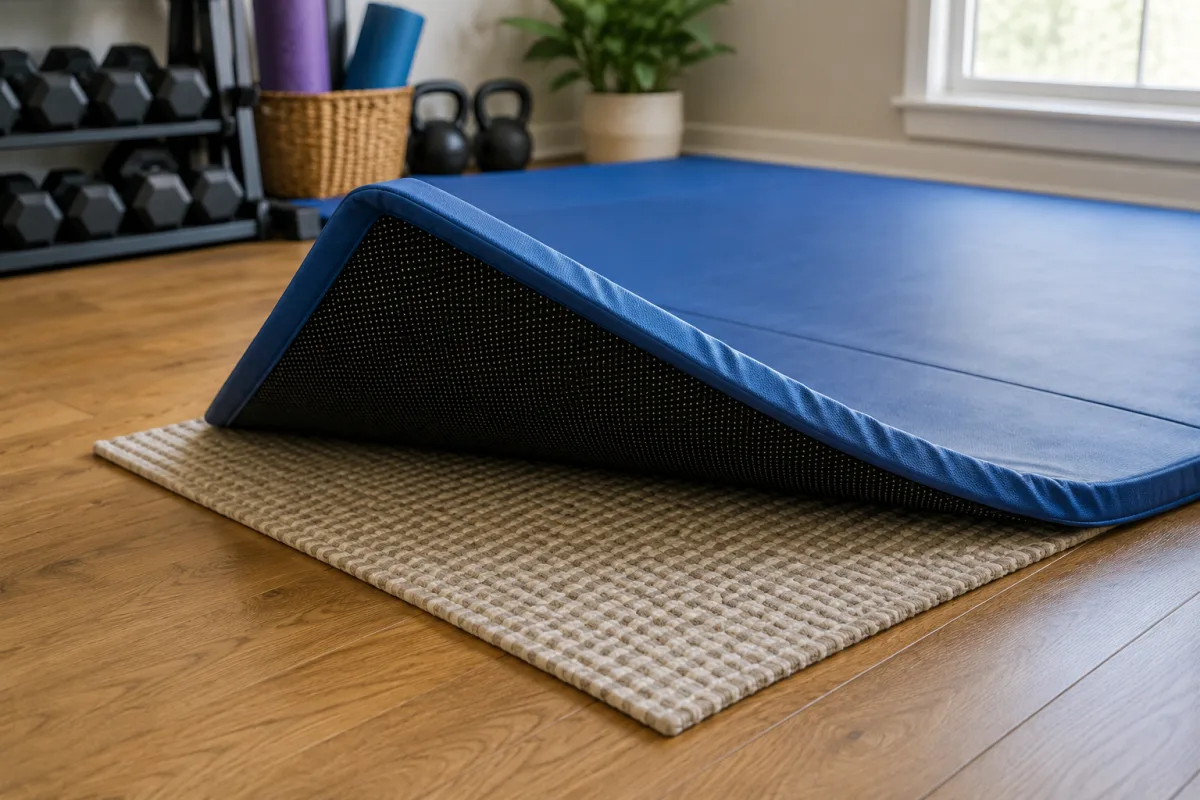
Add non-slip rug pad underneath, choose a grippy floor, or attach non-slip material to the bottom. Test the mat with light movement before using it for anything dynamic. A sliding mat is worse than no mat because it creates surprise.
Do not put a tumbling mat on a polished floor and assume weight will hold it. Movement shifts fabric, foam, and bodies. Check the mat every session.
How Do You Clean It?
Use a wipeable cover and clean after sweaty use. Remove grit before wiping so dirt does not scratch the surface. Let the mat dry before folding or storing to reduce odor and mildew risk.
If the cover is fabric rather than vinyl, follow the fabric care rules and consider a removable washable layer. Fitness equipment gets dirty faster than people expect.
What Safety Checks Matter?
Check seams, foam compression, cover tears, slick spots, and floor grip. Retire or repair the mat if the foam stays dented, the cover rips, or the mat moves during use. A mat is not safe forever just because it looks mostly fine.
USA Gymnastics describes safety and risk management as a formal part of gymnastics education through its U101 safety course. Home practice should borrow that attitude: think about risk before the skill, not after the fall.
What Should You Not Use It For?
Do not use a homemade tumbling mat for back handsprings, flips, high drops, bar dismounts, or skills that need coaching. Do not put it under equipment unless the equipment maker allows that setup. Do not let children use it unsupervised for stunts.
For fitness movement, Livecub's basic aerobic steps, Pilates jump board guide, and endurance exercises for kids all show a safer principle: match the surface to the movement and the person.
How Do You Store The Mat?
Store it dry, flat or folded along designed seams, away from heaters, sharp objects, pets, and damp basements. Do not stack heavy items on foam for long periods. Permanent compression weakens the mat.
If you use the mat for general exercise, Livecub's Tae Bo weight loss guide is a reminder that impact and footwork need a stable surface. A mat that helps stretching may not be right for fast cardio.
How Do You Test The Mat Before Use?
Start with hand pressure, kneeling, and slow weight shifts. Then try gentle stretching, a plank, and a slow roll if those are within your ability. Watch whether the cover wrinkles, the mat slides, or the foam bottoms out.
If anything shifts under slow movement, fix that before faster movement. Testing is not wasted time. It is how you learn whether the project works as equipment or only as padding.
Can You Make It Look Better?
Yes, but appearance should come after function. Use straight seams, matching thread, clean corners, and a cover color that shows dirt enough to remind you to clean it. Add a carry strap only if it does not create a hard lump under the mat.
Do not add buttons, snaps, thick labels, or decorative seams on the top surface. Anything raised can irritate hands, knees, or feet during floor work.
What If You Cannot Sew Vinyl?
If sewing vinyl is unrealistic, ask an upholstery shop to make the cover, or use a heavy-duty removable canvas cover for light use. Adhesive-only seams are not ideal because sweat, folding, and pressure can break them down.
You can still cut the foam and design the panels yourself, then pay only for the cover work. That often gives a cleaner result than fighting a home sewing machine that cannot handle the material safely enough.
Frequently Asked Questions
Can I make a tumbling mat from mattress foam?
Usually no. Mattress foam is often too soft and unstable for movement practice.
Is vinyl better than fabric?
Vinyl is easier to wipe clean, but heavy fabric can work for light use if it is washable and durable.
Can kids practice flips on a DIY mat?
No. Flips and aerial skills need qualified coaching and proper equipment.
How do I stop the mat from sliding?
Use a non-slip base, test the floor, and stop using the mat if it shifts during movement.
Can I repair a torn cover?
Small tears may be patched, but replace the cover if seams fail or the surface becomes slick.
What Is The Best DIY Approach?
Make a simple, firm, wipeable mat for basic low-impact use, then respect its limits. Good foam, clean seams, a non-slip base, and honest safety rules matter more than making the mat look professional.

Alyssa Curlin
Edits general health, nutrition and education explainers. Medical topics are educational and link to public-health guidance.
Leave a reply
Replying to