
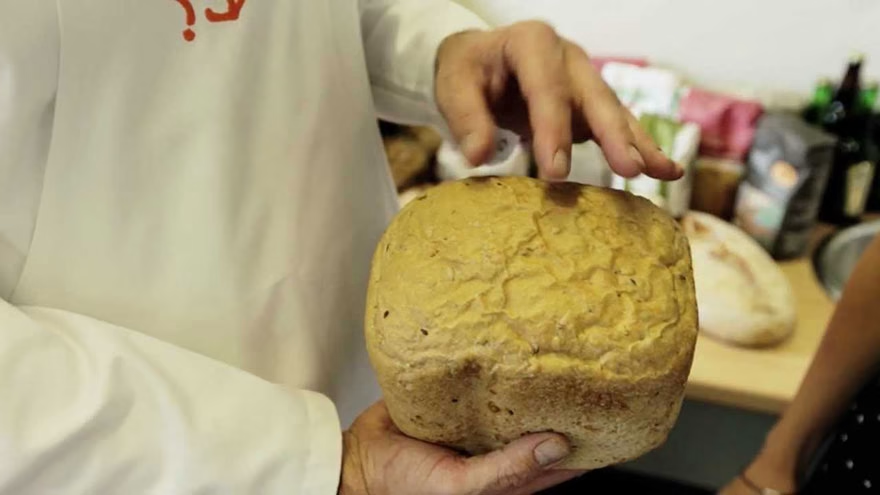
Why most bread problems trace back to one cause
Bread making troubleshooting is, at its core, a lesson in cause and effect. Most home bakers encounter the same set of frustrations — a dense loaf, a sunken crown, a gummy crumb — and assume each is a different mystery. They usually aren't. Almost every bread problem has a single identifiable root: a disruption somewhere in the yeast-gluten-heat system that governs how dough behaves from the moment ingredients combine to the moment a loaf comes out of the oven.
Understanding that system, rather than memorizing a list of fixes, is what separates a baker who keeps hitting the same wall from one who diagnoses on the fly. The sections below trace each common problem back to its actual source — not just the symptom, but the mechanism behind it.
Yeast problems — how to test and when to replace
Yeast is a living organism — specifically Saccharomyces cerevisiae — and its behavior is temperature-sensitive in ways that matter enormously to bread. Active dry yeast needs to be dissolved in liquid before use; instant yeast can be mixed directly into dry ingredients because the granules are smaller and absorb moisture quickly without pre-hydration. Fresh cake yeast, more perishable and less common in home kitchens, is even more potent per gram but must be refrigerated and used within two weeks.
To test whether active dry yeast is still alive, combine it with warm water (between 100°F and 110°F) and a pinch of sugar. Within five to ten minutes, the mixture should foam and smell yeasty. No foam means the yeast is dead or dormant. The culprit is usually age — check the expiration date on the packet — or improper storage. Dry yeast should be kept in an airtight container in the freezer, where it stays viable for months. Once opened and left at room temperature, it can degrade in weeks.
One practical note: if a recipe calls for active dry yeast and you're substituting instant, use about 25 percent less. Instant yeast contains more live cells per teaspoon.
Dense, heavy bread — diagnosing the cause
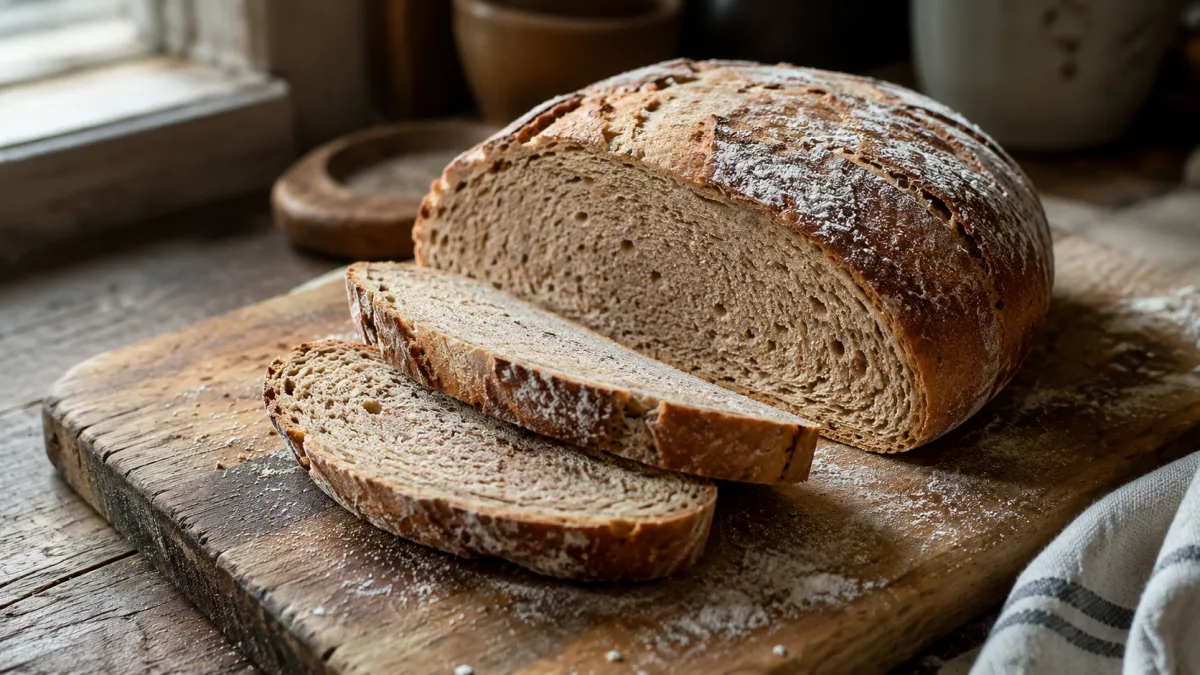
A heavy loaf almost always points to a compromised gluten network. Here's why that matters: when water meets the proteins glutenin and gliadin in wheat flour, those proteins bond together to form gluten. Kneading aligns and strengthens those bonds into an elastic web that traps the carbon dioxide gas produced by yeast fermentation. Without a strong network, the CO2 escapes instead of expanding the dough — and the loaf bakes up dense.
The most common cause is too much flour. Measuring by volume (cups) instead of weight (grams) almost guarantees inconsistency. A packed cup of all-purpose flour can weigh 30 percent more than a properly spooned one. That extra flour tightens the dough and weakens its ability to rise. A digital scale fixes this instantly.
Flour type also matters. Bread flour contains roughly 12–14% protein compared to all-purpose at 10–12%. More protein means more potential gluten, which means better structure. Whole wheat flour presents a different challenge: the bran particles physically cut gluten strands as they form, absorbing more water and producing a denser crumb. Whole wheat loaves benefit from longer hydration times and often a higher liquid ratio than white flour recipes.
Over-kneading is sometimes cited as a cause of dense bread, and the science is real but nuanced. Prolonged mechanical action can eventually break the bonds between glutenin and gliadin, degrading the network it was building. In practice, over-kneading by hand is difficult — it would require far longer than most people knead. Stand mixers running at high speed for extended periods are the more realistic culprit. If hand-kneaded dough is coming out dense, under-kneading is the far more likely issue.
Bread that won't rise — temperature, yeast, and timing
Yeast fermentation is a chemical process governed almost entirely by temperature. Active dry yeast thrives between about 75°F and 95°F. Below 70°F, the process slows dramatically; fermentation still happens, just much more slowly. Above 120°F, most yeast cells die. At 139°F, death is essentially complete. This is why the liquid used to activate yeast matters so much — water that feels "too hot to hold comfortably" is often too hot for yeast survival.
The ideal dough temperature, according to King Arthur Baking, is 75–78°F. At this range, fermentation is active but not so rapid that flavor-developing organic acids are bypassed. A thermometer takes the guesswork out: check both your liquid and the finished dough before the first rise.
If dough rises too slowly in a cold kitchen, find a warmer spot — the top of a running refrigerator, inside an oven with just the light on (around 80°F), or on a sunny countertop. Rising time is flexible; temperature is the lever. Dough that barely rises in a cool kitchen isn't ruined; it just needs more time or warmth.
Altitude introduces another variable. At 3,500–5,000 feet, lower atmospheric pressure means CO2 expands faster — yeast works harder, doughs over-proof sooner, and bread can collapse before it sets. High-altitude bakers should reduce yeast by roughly 25 percent, watch rise times carefully (check at the halfway mark), and often add one to two extra tablespoons of liquid per cup of flour to compensate for the drier air.
Crust problems — too hard, too soft, or too pale
Crust forms through two related processes: the Maillard reaction (the browning of proteins and sugars under heat) and moisture management during baking. Getting crust right means understanding both.
A crust that's too hard usually indicates the oven was too hot for too long, or that the bread lost too much moisture during baking. Lower the temperature by 15–25°F and reduce baking time slightly. A sheet of foil loosely tented over the loaf during the last 10–15 minutes prevents over-browning while the interior finishes. Spritzing the oven walls with water — not the oven light or heating elements — or placing a pan of hot water on a lower rack during the first 15 minutes creates steam. That steam keeps the crust surface pliable longer, allowing more oven spring before the exterior hardens. Artisan bakers replicate this effect with a Dutch oven: the closed lid traps steam from the dough itself, creating an ideal moist environment for the first half of baking, then the lid comes off to let the crust brown and crisp.
A crust that's too soft has the opposite problem. Enriched doughs — those with fat, milk, or eggs — naturally produce softer crusts because fat inhibits the hard-crust-forming process. If you want a crispier result from an enriched dough, that's a structural challenge. For lean doughs (flour, water, salt, yeast only), a soft crust usually means the bread was covered while cooling. Steam trapped under a cloth or plastic keeps the crust from crisping. Cool on a wire rack, uncovered, with airflow underneath.
A pale crust simply lacks Maillard browning. An egg wash (one egg beaten with a tablespoon of water) brushed on just before baking promotes deep golden color. Milk alone also works. Without any wash, a longer bake at a slightly higher temperature usually solves the problem — though watch closely to avoid burning the bottom before the top colors.
Gummy or doughy interior — temperature and resting
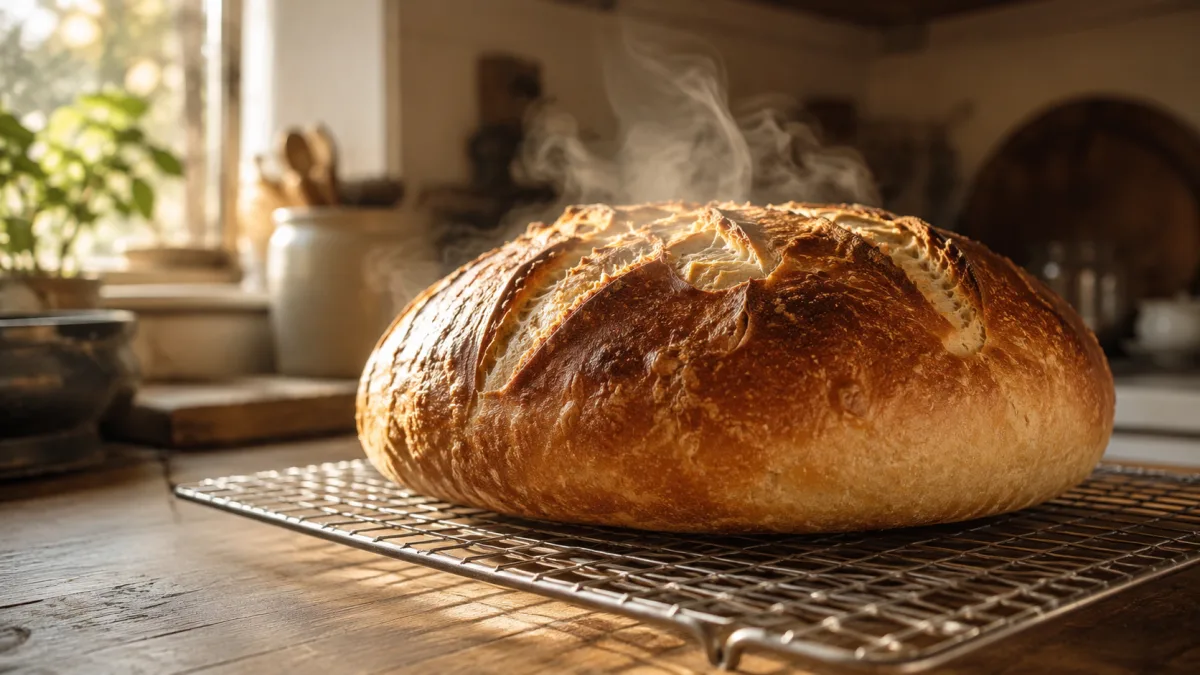
A gummy interior has two possible causes, and telling them apart matters: the bread is either underbaked, or it was cut too soon.
For underbaking: most yeasted loaves are fully done when the internal temperature reaches 190–200°F. Enriched breads with eggs and butter should hit 190–195°F. Sourdough, with its lower sugar content and denser crumb, often needs 205–210°F. A probe thermometer inserted into the center of the loaf is the only reliable indicator. External color can mislead — a dark crust doesn't guarantee a cooked interior if the oven was too hot initially.
For premature cutting: even a fully baked loaf will seem gummy if sliced right out of the oven. During baking, starch granules absorb water and swell in a process called gelatinization. That process doesn't finish the moment heat stops — the starch continues to set as the loaf cools, and water molecules migrate outward and evaporate. Cutting early forces steam out rapidly, condensing it into moisture that collapses the crumb and creates that wet, sticky texture. The crumb structure, still in the process of firming, gets compressed before it can stabilize. Most loaves need at least 30–45 minutes on a wire rack; larger sourdoughs often benefit from a full two hours. Cooling on a rack rather than a flat surface allows steam to escape from the bottom as well as the top.
Loaf collapses — over-proofing and sugar overload
A loaf that rises beautifully then collapses in the oven, or sinks in the center after baking, almost always points to over-proofing. Over-proofed dough looks dramatic — dramatically risen, very light, almost quivering — but it's structurally bankrupt. The gluten network has been stretched beyond its limits by CO2 it can no longer contain. The yeast has likely exhausted most of the available sugars. When the loaf hits oven heat, there's nothing left for oven spring; the structure collapses rather than sets.
The finger-poke test is a reliable diagnostic. Press a floured finger about half an inch into risen dough. If the indentation springs back slowly and partially, the dough is properly proofed. If it springs back immediately, it needs more time. If it doesn't spring back at all — just sits there as a dent — the dough is over-proofed. At that point, punch it down and allow it to rise again; it's often recoverable.
Too much sugar can also cause collapse, particularly in sweet bread recipes. Yeast ferments sugar to produce CO2, and more sugar means faster, more vigorous fermentation. The dough rises rapidly, the gluten structure extends to its limit quickly, and then gas escapes before the loaf reaches the oven. Too much liquid similarly weakens the gluten network before the loaf can support itself. If a sweet bread recipe consistently collapses, try reducing the sugar slightly or shortening the second rise.
Salt plays a surprising corrective role here. Beyond flavor, salt slows yeast fermentation through osmosis — it draws water from yeast cells, moderating their activity. This slower pace gives gluten more time to develop strength and allows complex flavors to form. The standard ratio is 1.8–2% of flour weight, according to King Arthur Baking's breakdown of salt's role in yeast bread. Bread made without salt ferments rapidly and uncontrollably, producing a flat, structurally weak loaf prone to exactly this kind of collapse.
Freezing dough and baked bread
Freezing is a useful tool, but it works very differently depending on what you freeze. Baked bread handles freezing well; raw dough tolerates it only with compromises.
For baked bread, let the loaf cool completely before wrapping — trapped steam creates ice crystals that degrade texture. Wrap tightly in plastic wrap or foil, then place in a freezer bag; frozen baked bread keeps well for up to three months. Thaw at room temperature for two to three hours, or reheat directly from frozen in a 325°F oven for about 20 minutes, tented with foil. Sliced bread can go straight from the freezer into a toaster — no thawing required.
Freezing raw dough is more complicated. Some yeast inevitably dies in the freezer. King Arthur Baking recommends increasing the yeast in the recipe by about a quarter to a half teaspoon per three cups of flour to account for this loss. The better approach for most bakers is to freeze dough after the first rise: punch it down, shape it, and freeze the shaped loaf on a sheet pan before transferring to a bag. When ready to bake, thaw overnight in the refrigerator, then let it complete the final rise at room temperature before baking. Expect the final proof to take longer — often four to five hours — because the yeast population is reduced. Sourdough starters are especially sensitive to freezing and are best used fresh.
If bread sticks to the pan, the fix is simple: grease thoroughly with butter or cooking spray, dust lightly with flour or cornmeal, or line with parchment. Non-stick pans lose their coating over time. A loaf that releases easily when done is a sign it's fully baked; one that sticks often needs a few more minutes in the oven.
The same freeze-at-peak-freshness logic that applies here also applies to produce. Freezing fresh vegetables follows the same principles: cool quickly, wrap tightly, and thaw thoughtfully.
Bread machine troubleshooting
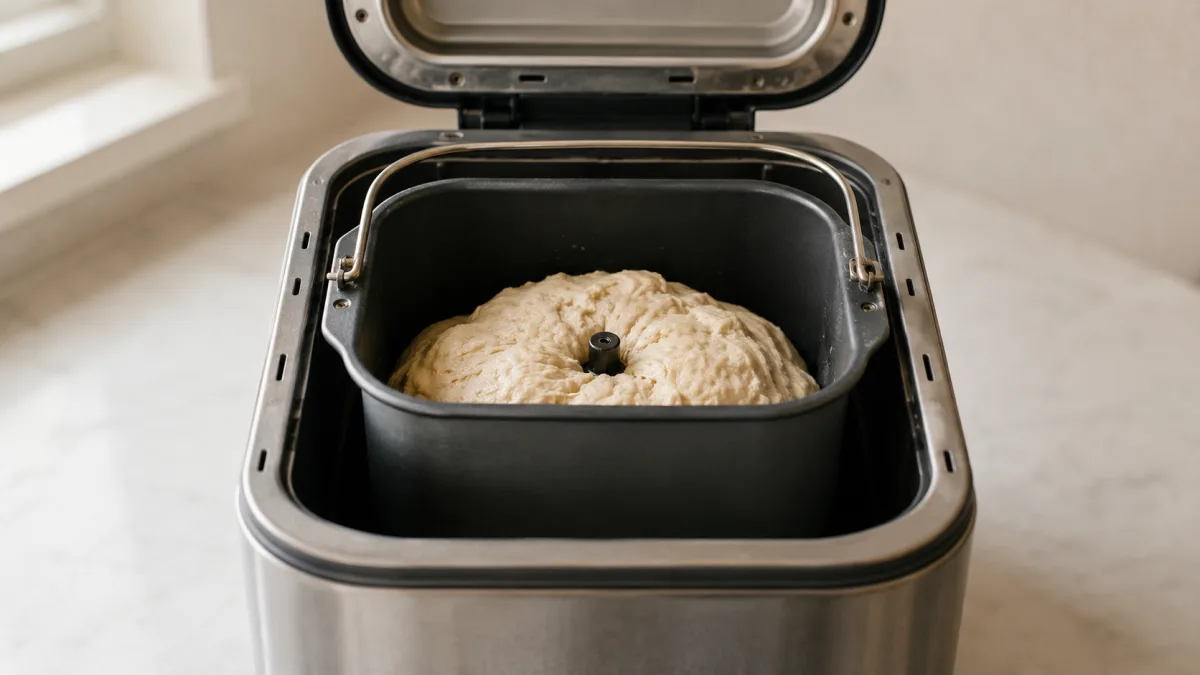
Bread machines solve the kneading problem but introduce their own variables. The paddle mechanism doesn't develop gluten quite as effectively as hand or stand mixer kneading because it can't replicate the full push-and-fold action that aligns protein strands. Machine-made loaves tend to be slightly denser than hand-made ones — this is a mechanical limitation, not a failure of technique.
Most bread machine manufacturers specify adding liquid ingredients first, then dry, with yeast last and kept away from the salt (salt inhibits yeast on direct contact). Follow your machine's ingredient sequence carefully. Humidity affects results significantly: on humid days, flour absorbs moisture from the air and the dough will be stickier. If the dough looks shaggy or dry during the mixing cycle, add water one tablespoon at a time. If it looks slack and wet, add flour the same way. Checking the dough ten minutes into the kneading cycle takes about 30 seconds and prevents a lot of frustration.
If using a bread machine at altitude, reduce the yeast by the same quarter-to-third-teaspoon adjustment described above. Machine doughs over-proof at altitude just as hand-made doughs do, and there's less ability to intervene once the cycle is running. Avoid rapid-bake cycles at altitude — the accelerated timeline combined with faster yeast activity is a reliable recipe for a collapsed loaf.
The single most common beginner mistake that derails bread making — in a machine or by hand — is killing the yeast with liquid that's too hot. It happens constantly, and the frustrating part is that the dough looks normal initially. It just never rises. Water above 120°F starts killing yeast; above 139°F, it's lethal. When in doubt, use a thermometer, or let your water cool longer than you think it needs to. A batch of bread takes hours; the extra two minutes to check the temperature is always worth it.
If you're expanding your kitchen skills beyond bread, our guides on cookie baking and displays, making perfect tiramisu, and cooking greens cover technique-first methods you can apply across recipes.
Frequently Asked Questions
What temperature water kills yeast?
Most yeast cells begin dying at around 120°F, and death is effectively complete at 139°F. For safe activation of active dry yeast, water between 100°F and 110°F is ideal. At that range, water feels comfortably warm on your wrist — not hot. When in doubt, err cooler; yeast will still activate in lukewarm water, just more slowly.
Why does my bread always come out too dense?
The most common cause is too much flour from volume measuring. Use a digital scale and measure by weight. After that, check your yeast (it should foam within ten minutes in warm water), ensure your liquid isn't too cold (below 70°F slows yeast significantly), and confirm you're using the right flour — bread flour produces better gluten structure than all-purpose for most loaves. Whole wheat flour requires more liquid and produces a naturally denser crumb.
How do I know when bread is fully baked?
Use a probe thermometer. Most standard yeasted white or whole wheat loaves are done at 190–200°F internal temperature. Enriched doughs with eggs and butter need 190–195°F. Sourdough typically needs 205–210°F. Tapping the bottom of the loaf for a hollow sound is a useful secondary check, but the thermometer is more reliable. A nicely browned crust can still conceal an undercooked interior if the oven was too hot initially.
Can I adjust a bread recipe for high altitude?
Yes, and the adjustment matters above 3,000 feet. Lower air pressure at altitude allows CO2 to expand faster, so dough rises and over-proofs more quickly. Reduce the yeast by roughly 25 percent (about a quarter teaspoon per standard packet), check the dough halfway through the expected rise time rather than waiting for it to fully double, and add one to two extra tablespoons of liquid per cup of flour. Some bakers also increase the oven temperature by 15–25°F and reduce baking time slightly.
Why does bread collapse after rising?
Almost always over-proofing: the dough has risen so long that the gluten network is overstretched and exhausted, and when it hits oven heat there's nothing left to spring and hold. Do the finger-poke test — properly proofed dough springs back slowly and partially. Too much sugar or yeast can also accelerate fermentation past the structural limits of the dough. In bread machines at altitude, this is especially common because there's less ability to monitor and adjust the process.

Timothy Davidson
Edits step-by-step general-interest guides for clarity, realistic limits and source verification.




Leave a reply
Replying to