
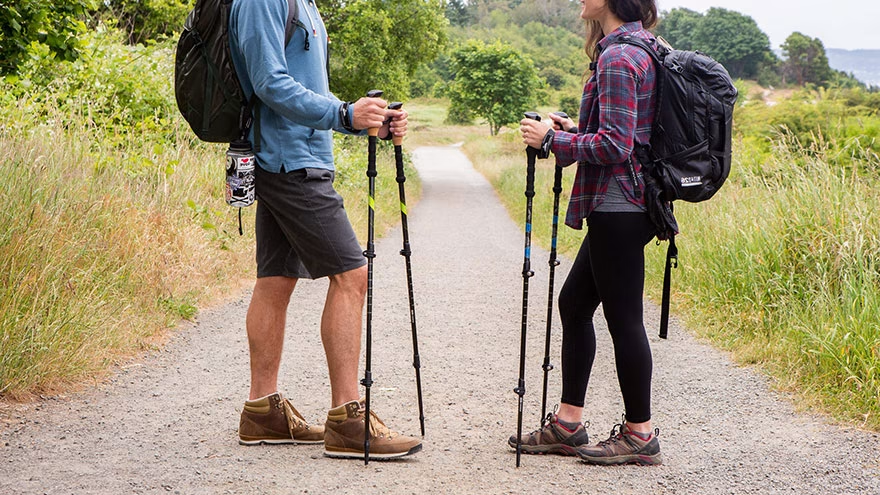
How to adjust walking sticks depends on what you are holding: a hiking staff, a pair of trekking poles, a Nordic walking pole, or a cane-style walking aid. The goal is the same, though. Your hand should meet the grip without lifting your shoulder, bending your wrist sharply, or making you lean to one side.
A walking stick that is too short can make you hunch. One that is too long can push your shoulder up and make the tip land too far ahead of you. A good adjustment should feel quiet: your stride stays natural, your elbow bends comfortably, and the stick adds support instead of demanding attention.
What Height Should Walking Sticks Be?
For general walking on flat ground, start with the grip around wrist height when your arm hangs naturally by your side. If you hold the grip with the tip on the ground near your foot, your elbow should bend roughly 90 degrees. REI's trekking pole guide uses the same 90-degree elbow idea for properly sized poles.
This is a starting point, not a law. Shoulder comfort, wrist position, terrain, pack weight, and the type of stick all matter. If you are using a walking aid because of injury, balance trouble, surgery, or pain, ask a physical therapist or clinician for personal fitting advice.
How Do You Adjust Telescoping Poles?
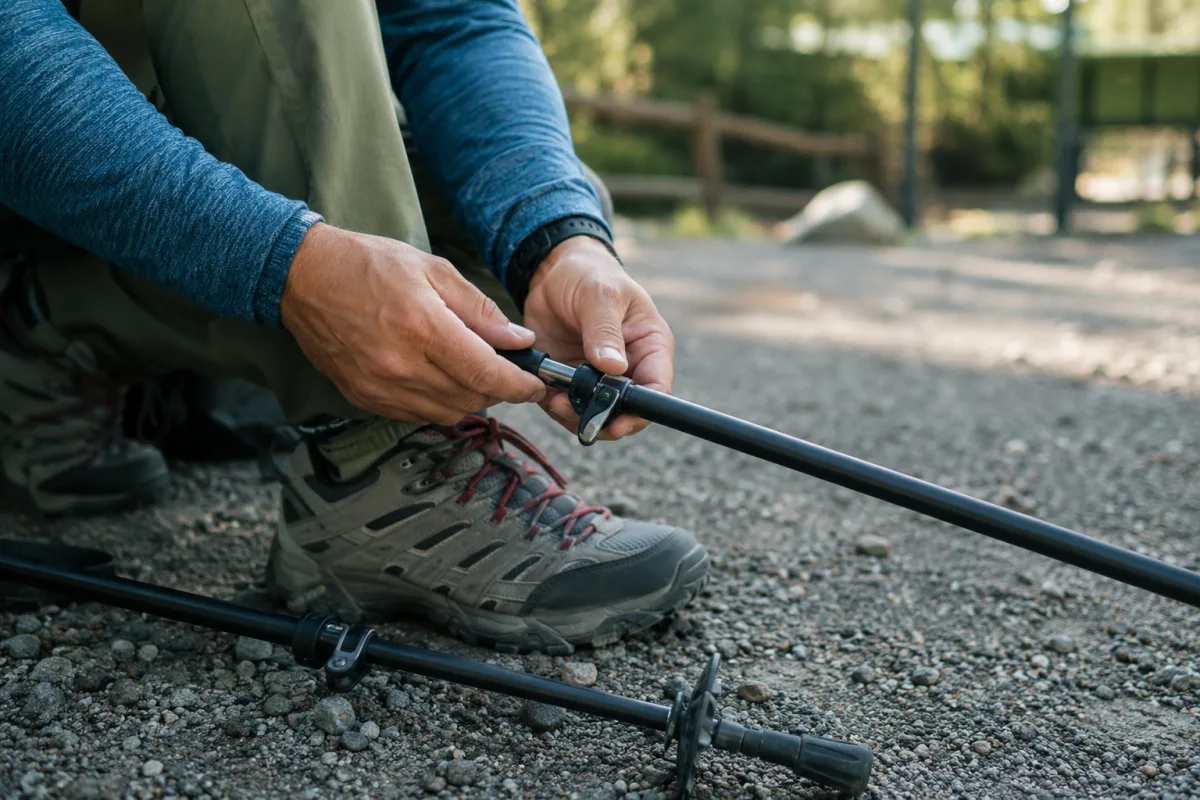
Open the lever locks or twist locks, extend the sections evenly, and set the marks to the same length on both poles. Do not extend beyond the printed stop line. Close the locks firmly, then press down through the grips to make sure the sections do not slide.
Adjust at home before your trip so you are not learning the lock system in rain, cold, or low light. If you are packing poles for a scenic route, Livecub's Spiral Jetty visit guide is a reminder that remote terrain feels easier when small gear details are handled before arrival.
How Do You Set A Single Walking Stick?
A single hiking staff usually sits a little higher than a cane, especially on uneven ground. Start near wrist height, walk a few minutes, and notice whether your shoulder rises. If your shoulder lifts every step, shorten the stick. If you feel bent over, lengthen it slightly.
Use the stick on the side that gives you the best rhythm. For a medical cane, the usual advice may differ from a hiking staff, especially when one leg needs support. Cleveland Clinic's cane guide explains cane sizing and safe use for mobility support.
How Should You Adjust For Uphill Walking?
Shorten trekking poles slightly on climbs. Shorter poles let your elbows stay bent while the ground rises toward you. If the poles are too long uphill, you may lift your shoulders and plant the tips awkwardly high, wasting energy.
For a short hill, you may not need to change anything. For a long climb, shorten both poles by a small amount and test the rhythm. Your hands should move naturally, and the poles should help you push without pulling your torso out of balance.
How Should You Adjust For Downhill Walking?
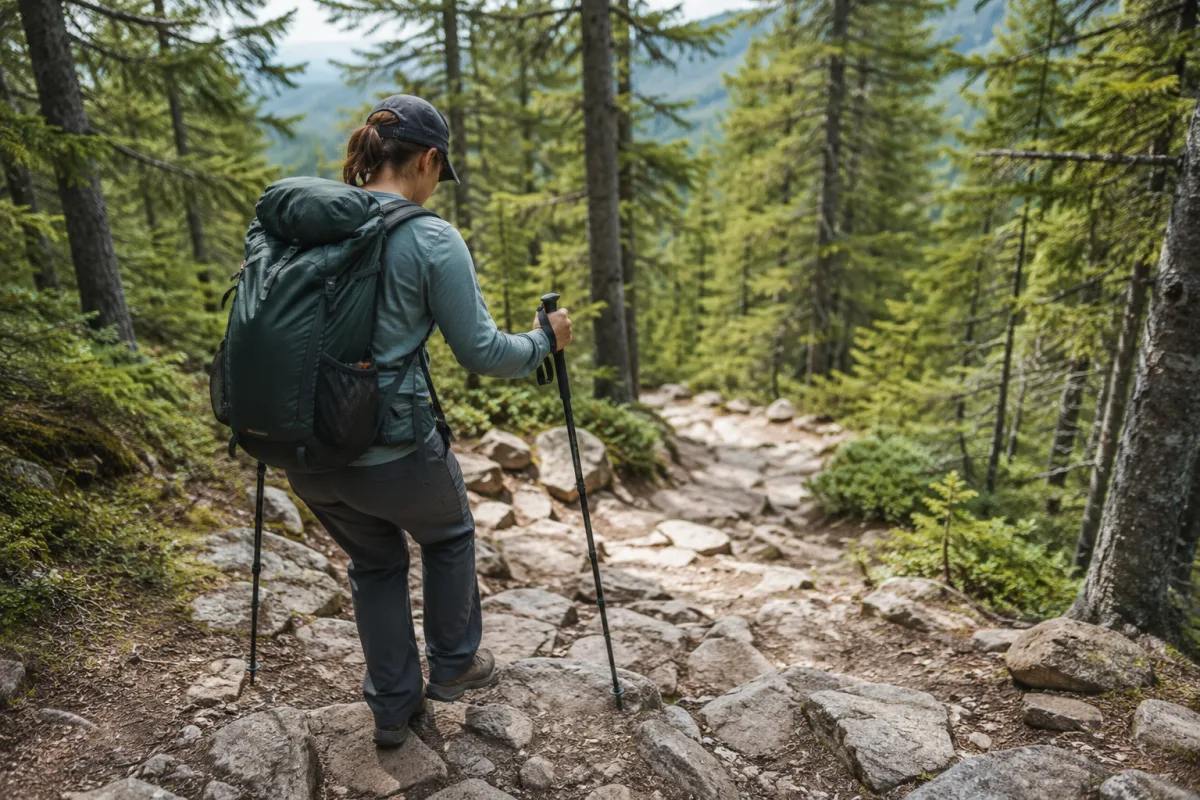
Lengthen poles slightly for descents. The ground drops away, so longer poles can help you plant the tips ahead and down without bending too far forward. Keep your steps controlled. Poles are helpers, not brakes that can save a reckless stride.
On steep or rocky trails, plant the poles securely before committing weight. Do not jab far ahead where the tip can slide. If you are planning waterfall hikes or rocky overlooks, Livecub's Skyline Drive waterfalls guide pairs naturally with safe pole adjustment.
What About Wrist Straps?
For trekking and Nordic poles, put your hand up through the strap from below, then settle your hand onto the grip. The strap should support some pressure without cutting into your wrist. If the strap is too loose, it does little. If it is too tight, your hand may feel trapped.
On tricky terrain, some hikers remove their hands from straps so they can let go quickly if a pole gets caught. In brush, rocks, or water crossings, being attached to a stuck pole can be risky. Use judgment and match the strap to the terrain.
How Do You Check The Tip And Basket?
Look at the tip before walking. Rubber tips are useful on pavement and indoor surfaces. Carbide or metal tips grip dirt and rock better, but they can scratch surfaces and slip on hard floors. Snow or mud baskets stop poles from sinking too deeply.
Replace worn tips before they fail. A pole that skids at the wrong moment can be worse than no pole at all. If your trip includes animal watching or quiet trails, Livecub's North Conway moose guide shows why quiet, controlled movement can matter outdoors.
How Should Walking Sticks Feel?
Your shoulders should stay low, wrists neutral, and elbows softly bent. You should not feel like you are reaching, punching, or dragging the sticks. On flat ground with two poles, many people use an opposite arm and leg pattern: right pole with left foot, left pole with right foot.
Walking itself has health benefits. Mayo Clinic's walking overview notes that regular brisk walking can support fitness, endurance, bones, muscles, energy, and mood. Good stick adjustment makes walking feel smoother, which can help you keep going.
How Do You Pack Adjustable Sticks?
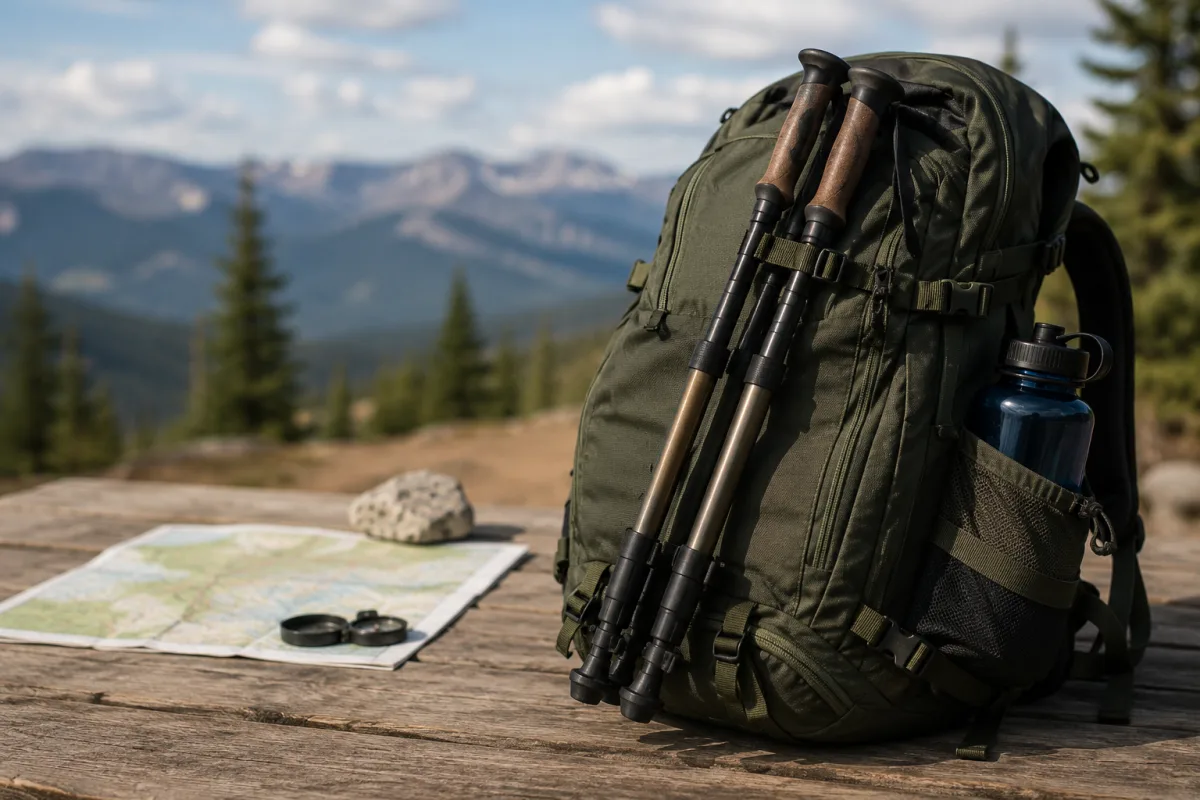
Collapse poles fully before attaching them to a bag. Tighten the sections enough that they do not rattle open. Keep tips covered when traveling by car, bus, train, or plane so they do not tear fabric or poke another person.
After a muddy walk, wipe the sections before collapsing them. Dirt inside the locks can make poles harder to adjust later. If you use sticks near water or salt, dry them before storage.
How Do You Practice Before A Trip?
Take the sticks on a short neighborhood walk before relying on them during travel. Practice adjusting the locks, using the straps, walking uphill, walking downhill, and changing tip covers. A short test walk can reveal slipping locks, awkward wrist angles, or tips that make too much noise on pavement.
Practice with the shoes and pack you plan to use. A pole height that feels fine without luggage may feel different with a daypack. If you are visiting shops, overlooks, and trails in one day, Livecub's Petoskey Michigan guide is a good reminder that travel days often mix surfaces.
During the test walk, change only one thing at a time. Shorten the poles, walk a block, then lengthen them and compare. This teaches you what the adjustment actually changes instead of leaving you to guess on a trail. If your hands feel tired quickly, loosen your grip before changing the pole length again. Your stride should feel steady, not busy or forced, all day.
What Mistakes Should You Avoid?
Do not set poles once and ignore terrain. Do not extend past the safety line. Do not walk with shoulders raised. Do not trust loose locks. Do not assume a cane, hiking staff, and trekking pole should all be the same height.
Also avoid using walking sticks as a substitute for footwear, water, pacing, or route planning. If you are heading somewhere hot or dry, Livecub's Laughlin Nevada guide is a good reminder that terrain and weather can change what gear feels safe.
Frequently Asked Questions
Should walking sticks reach my armpit?
No for most walking and trekking use. Start near wrist height with about a 90-degree elbow bend.
Do I need one stick or two?
One can help with light support. Two can improve rhythm and stability on trails, especially with a pack.
Should poles be longer downhill?
Usually yes, slightly. Longer poles help reach the lower ground without forcing you to bend too far forward.
Why do my shoulders hurt?
Your sticks may be too long, your straps may be wrong, or you may be gripping too tightly.
Can walking sticks prevent falls?
They can improve stability, but they do not remove risk. Fit, practice, footwear, and terrain awareness still matter.
What Is The Best Fit?
The best walking stick height lets you stand tall, keep your shoulders relaxed, and plant the tip without reaching. Start with the 90-degree elbow rule, then adjust for hills, surface, safety, and your own body. A small length change can make a long walk feel much better.

Chiara Bradshaw
Covers education, culture and creative topics with an emphasis on readable explanations and verifiable references.



Leave a reply
Replying to