
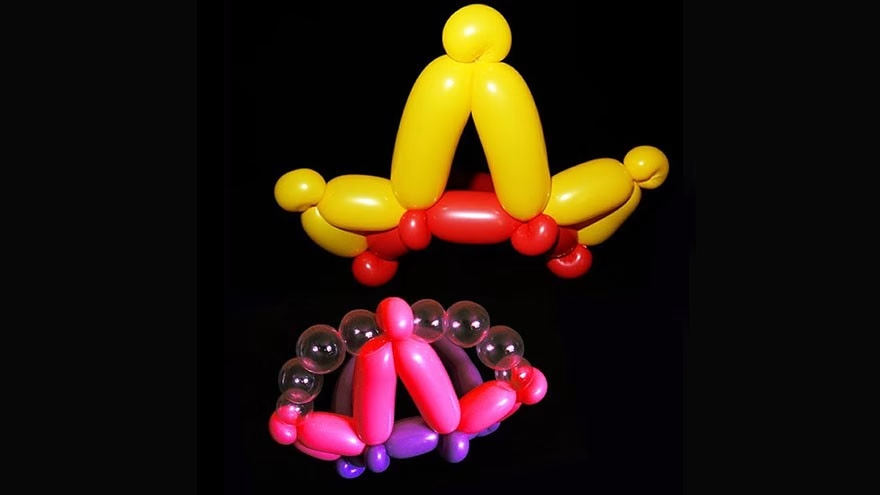
A balloon crown is a small party trick with a practical lesson inside it: the crown only looks neat if the base fits the head, the twists are soft enough to bend, and the popped scraps are handled right away. The old version of this project was the kind of thin craft note that tells you to twist three balloons together and hope for the best. A better guide should slow down at the places where beginners actually get stuck: how much tail to leave, how tight the bubbles should be, how to make the crown points stand up, and how to keep the whole thing from sliding over a child's eyes.
This version uses three long twisting balloons, usually 260 balloons, because they are easier to find than 160 balloons and more forgiving for beginners. If you are planning a table of party activities, make the first crown yourself before guests arrive. That gives you a sample to copy, and it keeps the activity calmer than trying to learn under a ring of waiting kids. For a larger birthday setup, the crown can sit beside a craft table, snack tray, or the kind of themed activity plan used in a Hi-5 birthday party.
What should you prepare before twisting the crown?
Start with three good-quality twisting balloons, a hand pump, scissors for adult use only, and a trash bowl for broken pieces. Do not ask children to blow up long balloons by mouth. They are hard to inflate, and the safety risk is not worth it. A pump also gives better control because you can stop with a soft tail left at the end of each balloon.
Inflate each balloon until about three to four inches at the tail end remain uninflated. That empty tail gives the air somewhere to move as you twist. If the balloon is filled end to end, every twist becomes a fight and the crown is more likely to burst. Tie the nozzle firmly. Then squeeze the inflated part once or twice from nozzle to tail to soften the pressure. You want a firm tube, not a drumstick.
Color choice is not just decoration. Use one color for the bottom band and one or two colors for the points so you can see what you are twisting. Beginners get confused when every section is the same color. Gold, pink, blue, white, and purple all read as crown colors, but high-contrast colors make instruction easier if several people are learning at once.
Safety setup belongs at the beginning, not as a footnote. The U.S. Consumer Product Safety Commission warns that uninflated and broken balloons can be a suffocation hazard for young children. Keep spare balloons in adult hands, collect scraps immediately, and do not let children chew, suck, or stretch balloon pieces.
How do you make the basic balloon crown frame?
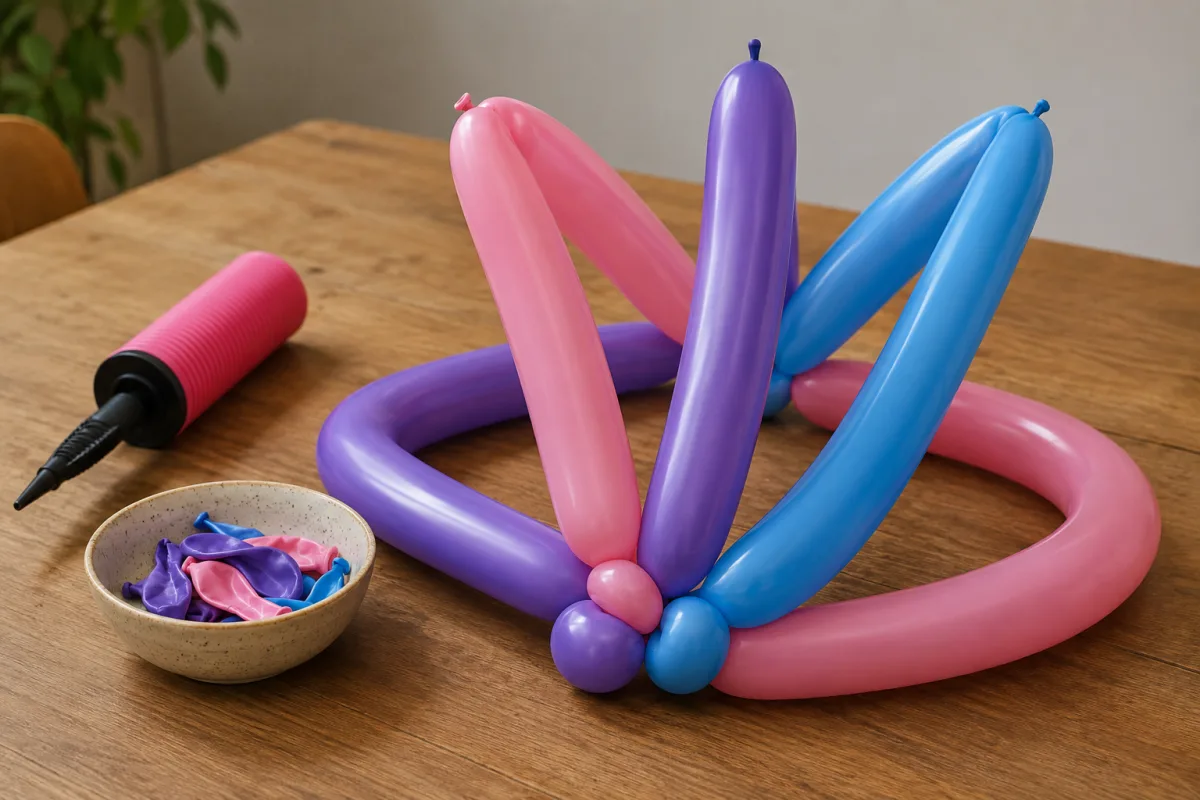
Lay two inflated balloons side by side. These will form the front points and the lower band. Tie their nozzles together, then make a small one-inch bubble in one balloon near the knot. Fold that bubble against itself and twist it three to five times so it becomes a pinch twist. This little knob is the first corner of the crown. It gives the band a place to anchor instead of sliding apart.
From that first pinch twist, measure a short section for the first side of a point. Four finger-widths is a useful beginner measurement. Twist the section, then make another one-inch bubble and pinch twist it. Now make a matching section back down to the band. Twist it into the base balloon. You have made the first point: up, knob, down.
Repeat the same idea for the center point, but make the two side sections a little longer. Six finger-widths makes the center point look taller without using the whole balloon. Add a pinch twist at the top, then twist the second side back to the band. Make the third point shorter again so the crown has a simple high-middle shape.
Use the second balloon as the lower band. As each point returns to the band, twist the point and band together several times. The band is not just a circle; it is the spine that carries every point. If the band is loose at the front, the crown will sag. If it is overtwisted, it will pull into a tight triangle and look uncomfortable.
When the front points are finished, wrap the band around the wearer's head, keeping one finger of space between the balloon and the head. Twist the measured spot into the starting pinch twist. If you are making several crowns before a party, leave the back connection slightly adjustable and fit each crown as it is handed out.
How do the twists actually hold together?
Balloon twisting is less mysterious once you stop thinking of it as tying knots. You are moving air, creating bubbles, and using friction to keep those bubbles from unwinding. A basic twist divides the balloon into two sections. A lock twist holds two sections together. A pinch twist creates a small anchor that can point in a new direction.
BalloonHQ's twisting guide describes the pinch, or ear, twist as a small bubble whose ends are twisted together. For a crown, that small twist matters because the top points need corners. Without pinch twists, the points flatten into soft loops. With them, the shape looks like a crown instead of a headband.
The beginner mistake is twisting once and letting go. Twist each connection three to five times in the same direction, and hold the nearby sections while you work. If you twist one side clockwise and the next counterclockwise, the balloon may undo itself as soon as you put it down. Pick a direction and stay with it through the crown.
Air pressure is the other hidden issue. If a bubble feels hard and shiny, soften it by squeezing air toward the tail before twisting. A slightly soft bubble can bend into shape. A hard bubble pops or pulls neighboring sections out of line. If one point keeps leaning forward, the crown is usually too tight across the front or one side of the point is shorter than the other.
How can you size the crown for a child or adult?
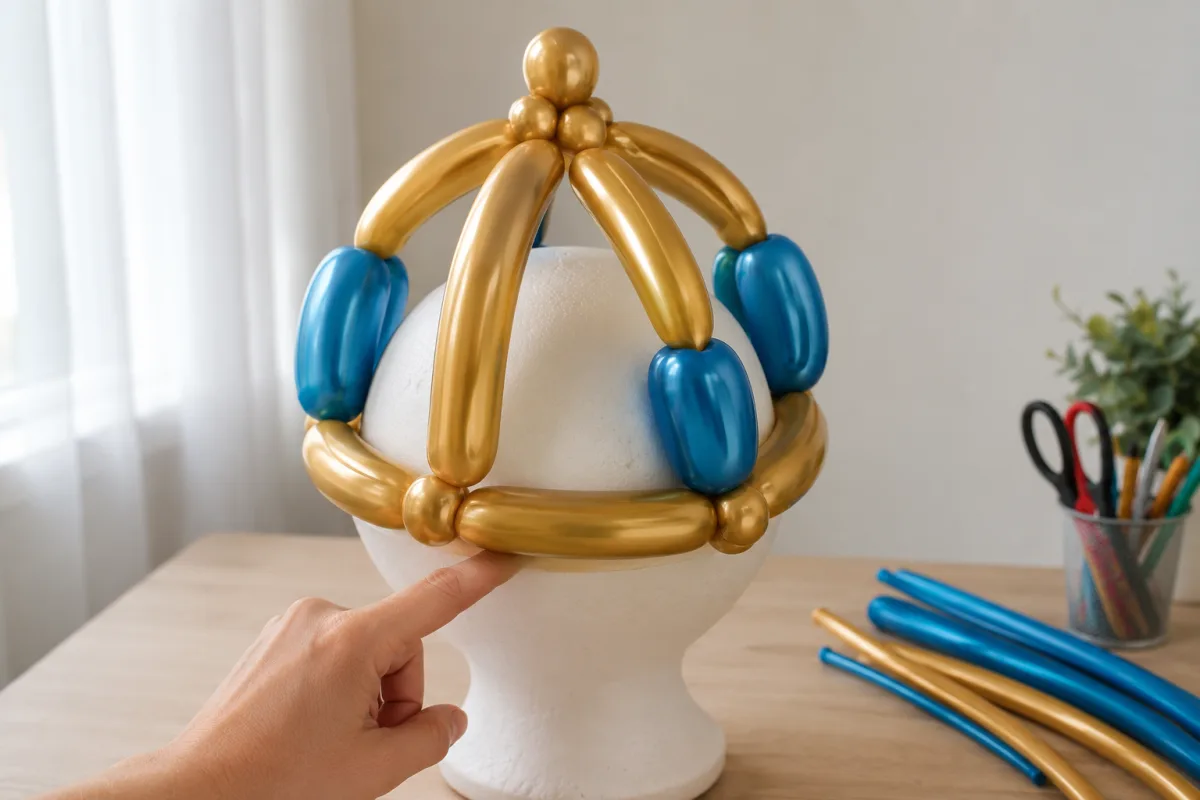
Fit the crown near the end, after the points are built. Wrap the band gently around the head and mark the meeting point with your fingers. Do not stretch the balloon tight to make it fit. A stretched band presses into hair, slips upward, and pops sooner because the latex is under constant tension.
For a small child, keep the front points shorter and the back band looser. A tall crown on a small head tends to tip backward. For an adult, make the band with an extra balloon if needed rather than forcing the base balloon to do all the work. You can tie or twist a fourth balloon into the back and hide the connection behind the head.
If the crown is part of a memorial birthday table or a gentle family gathering, the fit should feel respectful rather than frantic. A single crown placed beside a photo, candle, or dessert can be more meaningful than a pile of rushed decorations; that approach pairs naturally with ideas for memorial birthdays where small gestures carry the mood.
For active party games, check the fit again after five minutes. Balloons warm up in hands and stretch with movement. If the crown slides down, tighten the back by one small twist. If it leaves a mark on the forehead, loosen it. A good party craft should survive normal movement, not a tug-of-war.
What safety details matter with balloons?
Latex balloons need adult handling from start to finish. The risk is not only an inflated crown sitting on a head; the higher risk is uninflated balloons, popped fragments, and children trying to inflate or chew them. The American Academy of Pediatrics has warned that latex balloon pieces are especially dangerous because they can conform to a child's airway.
Use a visible scrap bowl and make cleanup part of the routine. If a balloon pops, stop the activity, pick up every piece, and throw it away before continuing. Do not let children collect fragments as souvenirs. Do not leave extra uninflated balloons on a craft table. Store them in a closed bag or container that only an adult controls.
Think about age, too. For toddlers and preschoolers, a paper crown may be the better choice. For older children, the balloon crown can work if adults inflate the balloons, supervise the twisting, and remove broken pieces at once. If a child likes the look but not the pressure on the head, use the crown as a chair decoration or photo prop instead.
Decorations should also be simple. Avoid tiny adhesive gems, loose beads, or wire. If you add paper shapes, tape them to the outside of the crown and remove them before the balloon is discarded. The safest balloon crown is bright because of its shape and color, not because it has small parts glued to it.
How can you decorate the crown without making it fragile?
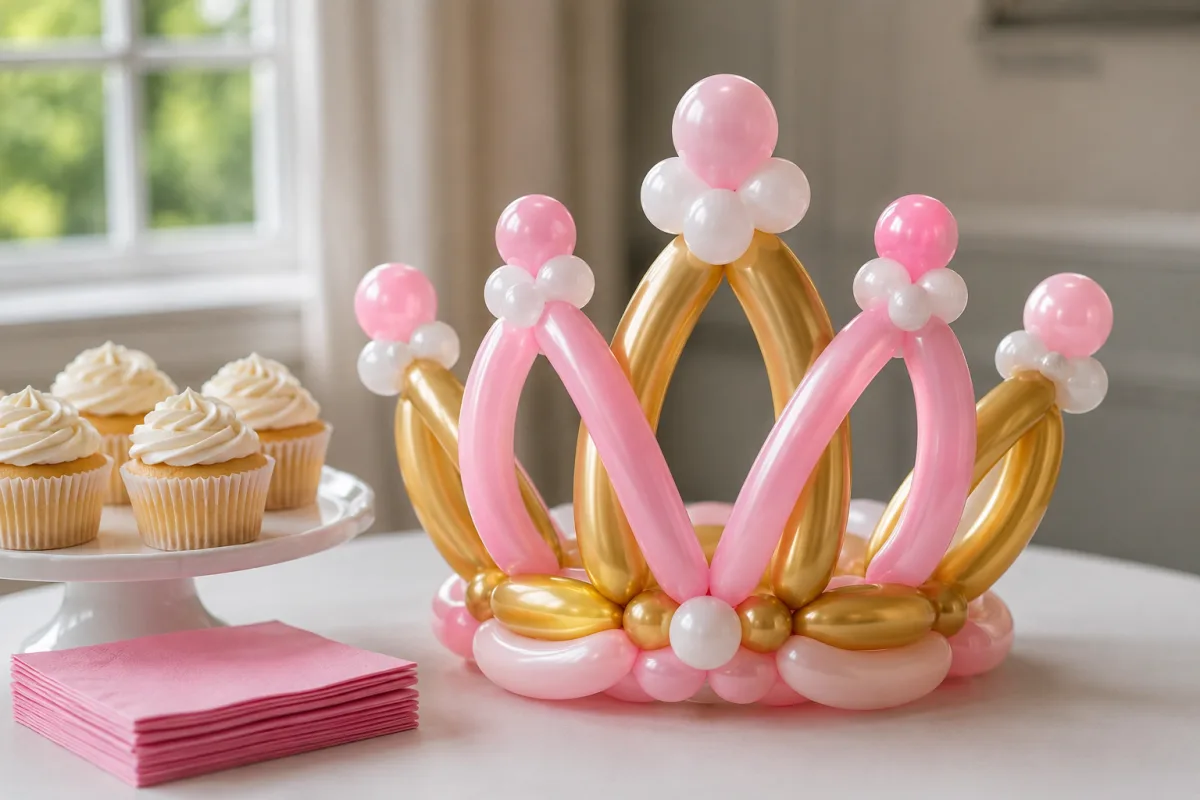
The easiest upgrade is color placement. Use a darker band and a lighter front point, or alternate colors across the three points. A third balloon can be wrapped loosely around the front as a garland if the base crown is already stable. Keep that decorative wrap loose; if it cinches the points together, the crown loses its shape.
You can also add small round balloons at the tips, but only if an adult attaches them and the wearer is old enough for latex balloon play. Inflate each small balloon only halfway so it stays soft, then tie it around the pinch twist at the top of a point. This makes the crown look more finished, but it adds more pieces to supervise.
For a dessert table or party photo area, match the crown colors to the food display. A gold-and-white crown beside sugar cookies feels planned without being stiff. If the crown is part of a larger snack layout, borrow balance ideas from an organized cookie display: repeat colors, vary height, and leave enough blank space that the craft does not fight the food for attention.
In adult settings, the crown can be a light icebreaker rather than a children's craft. A marriage seminar, office birthday, or family reunion can use a few crowns for photo prompts, team games, or table markers. That kind of low-pressure activity fits the same spirit as interactive group ideas for a marriage seminar: people participate more easily when the activity is simple and a little funny.
Frequently Asked Questions
What balloons do I need for a balloon crown?
Use long twisting balloons, usually 260 balloons, plus a hand pump. Three balloons are enough for a basic crown; a fourth helps if you need a larger adult-size band.
Why does my balloon crown keep popping?
The balloons are probably overinflated or twisted while too tight. Leave several inches of uninflated tail, soften the balloon with a gentle squeeze, and make smaller bubbles at the corners.
Can children make balloon crowns by themselves?
Adults should inflate the balloons, handle spare balloons, and supervise cleanup. Older children can help twist under close supervision, but young children should not handle uninflated balloons or broken pieces.
How long will a balloon crown last?
It may last through a party or even overnight if it is kept away from heat, rough play, grass, and sharp edges. Latex slowly loses air, so make it the day of the event when possible.
Can I use regular round balloons instead?
Round balloons can decorate a crown, but they cannot form the twisted frame well. Long twisting balloons are better because they bend into points, bands, and anchors.
A balloon crown does not need advanced twisting. It needs soft balloons, repeated twists, a band that fits, and an adult who treats popped pieces as cleanup, not clutter. Make one slow practice crown, and the second one will already look like something made on purpose.

Cashie Evans
Covers parenting and practical household topics with clear steps, safety notes and links to current guidance.




Leave a reply
Replying to